Why AI Upscalers Leave Seams and Soft Edges, And How We Fixed Ours
An AI upscaler can sharpen a photo beautifully and still leave a faint grid across it, or a crisp subject with a strangely soft outline. Both are avoidable. Here is what actually causes them, and the two fixes we shipped.
By Novus Stream Solutions Editorial Team · Part of the Image processing and on-device AI topic cluster
If you have upscaled a photo with an AI tool and looked closely at the result, you may have seen one of two disappointments: a faint checkerboard-like grid laid over the whole image, or a subject that is sharp everywhere except its outline, which came out soft and blurry. Both are common, both look like the AI "didn't work," and both are actually artifacts of the plumbing around the AI, not the model itself. We recently hunted down both in our own image upscaler. Here is what causes them and how we fixed each.
Why upscalers work in tiles at all
A super-resolution model is memory-hungry. Feeding it a whole 12-megapixel photo at once would blow past what a browser tab is allowed to allocate. So upscalers cut the image into tiles, say 256×256 pixels, enlarge each tile, and stitch the enlarged tiles back together. This keeps memory flat no matter how big the source is. It is the standard trick, and it is where the first artifact comes from.
Artifact one: the faint grid (tile seams)
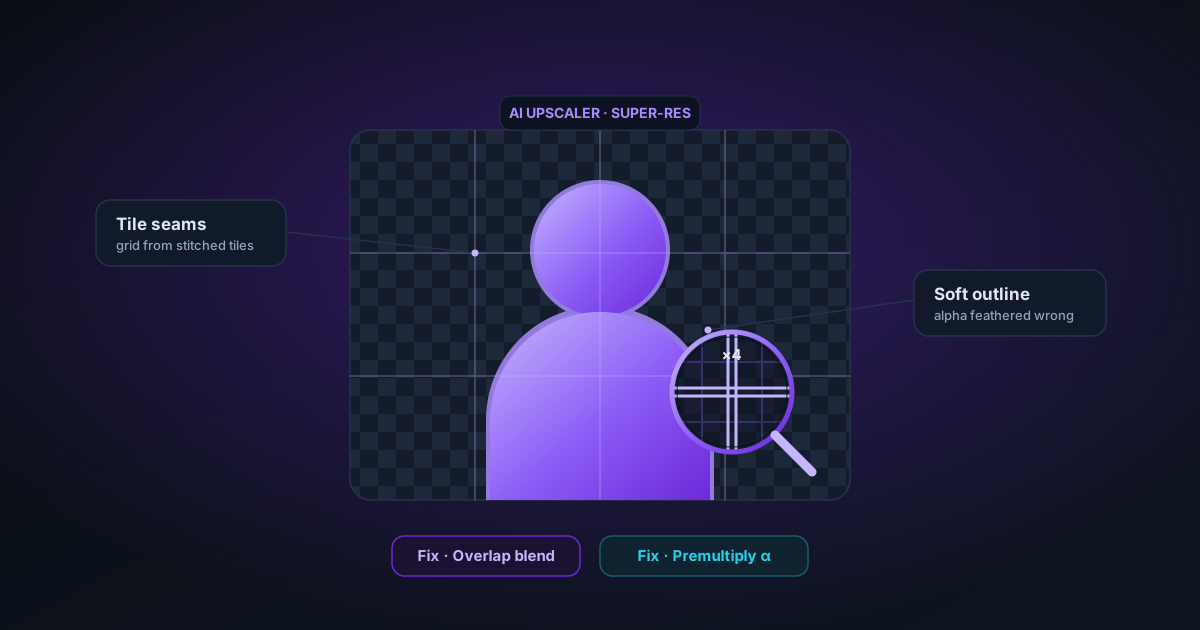
When you upscale each tile in isolation and lay the results next to each other, the model makes very slightly different decisions at the shared edge of two neighbouring tiles. The pixel at the right edge of tile A and the pixel at the left edge of tile B should be nearly identical, they were adjacent in the original, but the model saw different surroundings for each, so it reconstructs them a hair differently. Multiply that tiny discontinuity along every tile boundary and you get a faint grid.
Most tools already do one thing to reduce this: they give each tile a margin of overlapping context so the model can "see" a little past the tile's edge. That helps the model's decisions, but it does not fix the seam, because the tiles are still written into the final image with a hard cut between them. The context reduces the discontinuity; it does not blend it away.
Our fix: feather the overlap. Instead of writing each tile with a hard edge, we let neighbouring tiles overlap in the output and cross-fade across that overlap: the outgoing tile's contribution ramps down while the incoming tile's ramps up, a smooth linear blend over the shared band. Any residual difference at the boundary is now spread across dozens of pixels instead of concentrated on one line, which is exactly what makes it invisible to the eye. The trick was doing this blend without a huge memory cost: a naive implementation would need a full-image floating-point accumulator, which for an 8K output is about a gigabyte. We do it in place, in a single byte-per-channel buffer, by exploiting the fixed order tiles are processed in, each tile only ever blends against neighbours already written, so no accumulator is needed.
Artifact two: the soft outline (the alpha problem)
The second artifact only shows up on images with transparency: a cutout, a logo, a product on a transparent background. The colour comes out crisp, but the edge of the subject looks soft, as if someone ran a light blur around the outline. This one is subtle in its cause and, once you see it, obvious.
An image with transparency has two parts: the colour (RGB) and the transparency mask (alpha), which says how opaque each pixel is. The AI super-resolution model only upscales the colour. It knows nothing about the alpha channel. That is not what it was trained on. So the alpha has to be enlarged separately, and the easy way to do that is a plain mathematical stretch (bilinear interpolation), the same smooth blur you would get from dragging the corner of an image in any editor.
That is the bug. You end up with sharp AI colour and soft stretched alpha. The subject's colour is crisp to the pixel, but its silhouette, which is defined by the alpha, is a soft gradient. The eye reads the whole edge as blurry, because the edge is the alpha, and the alpha was never sharpened.
Our fix: sharpen the alpha using the colour as a guide. There is a classic technique called joint-bilateral upsampling that fits this perfectly. Instead of stretching the alpha blindly, we upsample it while looking at the already-sharpened colour image. For each output pixel, we blend nearby alpha values, but we weight that blend by how similar the colour is, so the alpha edge is pulled to align with the crisp colour edge the model just produced. The transparency mask stops floating softly across the boundary and snaps onto the real, sharpened silhouette. Crisp colour, crisp edge. (When an image is fully opaque, an ordinary photo with no cutout, we skip this entirely; there is no edge to sharpen and no cost to pay.)
A third thing: knowing when not to "clean up"
There is one more way upscalers accidentally soften an image: an over-eager denoise pass. It is tempting to run a strong noise-reduction step after upscaling to smooth out any grain. But a good super-resolution model already produces clean output, and a heavy denoise on top of it does not remove noise. It removes detail, smearing exactly the fine texture you upscaled to recover. So for the AI path we disable that denoise entirely; the model's output is already clean, and we leave its detail alone. Denoise only runs on the non-AI fast path, where there is real grain to tame.
The takeaway
None of these three fixes touches the AI model. The model was always doing its job. The artifacts lived in the tiling, the alpha handling, and an unnecessary cleanup step, the unglamorous plumbing that surrounds the interesting part. That is often where "the AI looks broken" actually comes from: not the network, but everything you do to its input and output.
If your upscales have looked bigger but soft, give the upscaler another run, especially on a cutout with a detailed edge. The colour and the outline should now be sharp together.
Applies to NSS Background Remover v2.1.0 — the release that was current when this article was published.
Was this article helpful?
Your answer is saved in this browser only. This control makes no network request and does not send the answer to an NSS feedback endpoint.