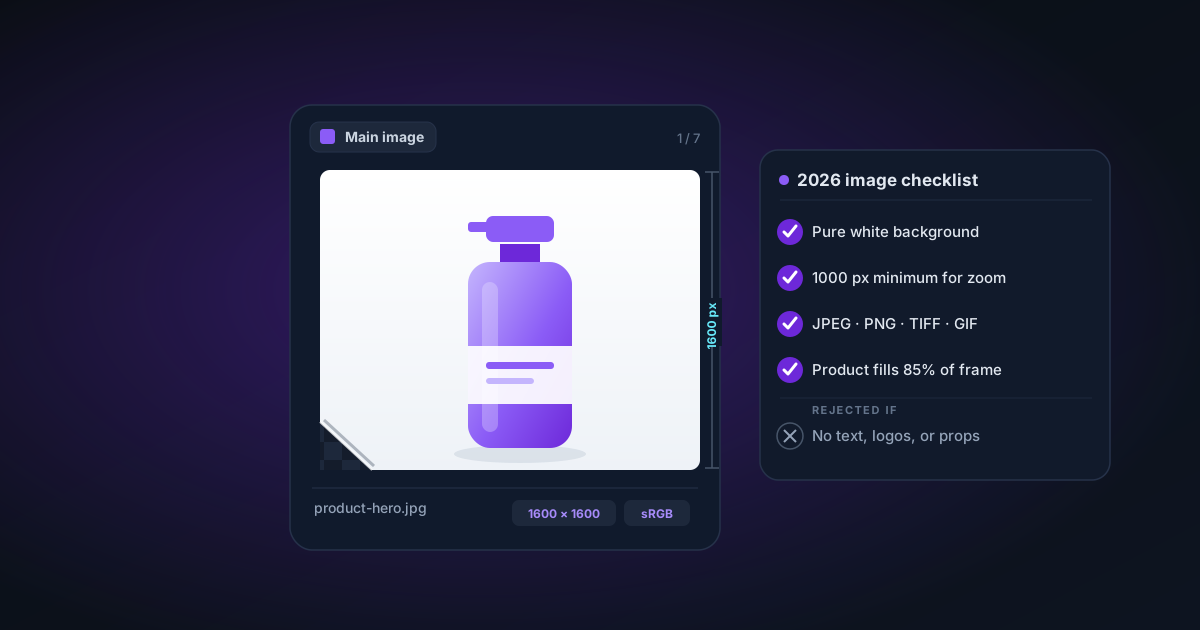
How to Prepare an Amazon-Compliant Product Cutout (2026)
A focused browser-local workflow for turning one product photo into a clean cutout, a pure-white main-image candidate, and a reusable transparent master.
By Novus Stream Solutions Editorial Team · Part of the Publishing and marketplace requirements topic cluster
This is a production workflow, not a complete restatement of Amazon policy. Requirements can vary by category and marketplace, so check Amazon's current product-photo guidance and the category rules in Seller Central before publishing. The goal here is narrower: prepare a clean product cutout, preserve a transparent master, and make a white-background export you can validate.
Start with a source the cutout can read
Use the highest-resolution original you have. Even light, a steady camera, and visible separation between the product and its background matter more than buying a particular backdrop.
- Keep the entire product inside the frame.
- Avoid a background with the same colour as the product edge.
- Move glass, glossy packaging, jewellery, and fine fabric away from background clutter.
- Keep a little room around natural shadows. You can decide whether to preserve or rebuild them after removal.
Do not resize or repeatedly save the source before cutting it out. Every JPEG generation can add ringing around hard edges and texture around hair or fabric.
1. Remove the background locally
Open the Background Remover, select the source, and choose the mode that matches the edge difficulty. The file is decoded and processed in your browser; it is not sent to a media-processing server.
Use the faster model for well-lit boxes, bottles, and products with clear outlines. Use Best Quality for transparent packaging, complex jewellery, soft fabric, fur, or fine gaps. Model downloads are consent-gated and cached on the device after their integrity is verified.
2. Inspect the edge before styling it
View the cutout against at least three preview backgrounds: white, dark grey, and a saturated colour. A fringe that disappears on white can still be obvious on a lifestyle image.
Check these areas at 100% zoom:
- handles, holes, and spaces between product parts;
- reflective or translucent edges;
- cast shadows that may have been mistaken for background;
- labels and corners with compression halos;
- soft materials where excessive smoothing can make the product look clipped.
Open the editor and use edge refinement or the erase/restore brush only where needed. Small corrections usually look more natural than applying a strong global feather.
3. Save a transparent master
Before adding white, export a transparent PNG. This is the reusable cutout for additional listing images, storefront graphics, social assets, and future background changes.
Use Check Transparency on the exported master. A checkerboard drawn into the pixels is not transparency; the diagnostic confirms that the file contains a real alpha channel.
4. Build the white-background candidate
In the image editor, add a solid background and enter #ffffff. Do not rely on an off-white studio sweep looking white on your monitor. Position and crop the product according to the current rules for its category and marketplace.
Keep legitimate contact shadows only when the applicable category guidance permits them and the shadow improves the product's shape. Otherwise use the transparent master over pure white and inspect the lower edge for grey residue.
5. Export and verify the actual result
Export a high-quality JPEG for the main-image candidate unless your publishing workflow specifically calls for PNG. Then reopen the downloaded file instead of trusting only the editor preview.
Verify:
- the canvas background samples as
#ffffffin the corners; - no transparent pixels remain in the main-image candidate;
- no halo appears around hard, glossy, or semi-transparent edges;
- the product is not cropped accidentally;
- dimensions and framing meet the current category guidance;
- text, badges, props, borders, and watermarks are absent when the main-image rules prohibit them.
Keep both outputs: the transparent PNG master and the verified white-background candidate. Recreating the cutout for every channel introduces avoidable edge differences.
Difficult products need a different review pass
Glass and clear plastic often need partial transparency restored after the first removal. Jewellery needs inspection around gaps and specular highlights. Fabric needs a low-strength edge pass so threads are not erased. See the difficult-cases gallery for the failure mode closest to your product before increasing model or refinement strength.
Related workflow guidance
Applies to NSS Background Remover v2.4.0 — the release that was current when this article was last updated.
Was this article helpful?
Your answer is saved in this browser only. This control makes no network request and does not send the answer to an NSS feedback endpoint.