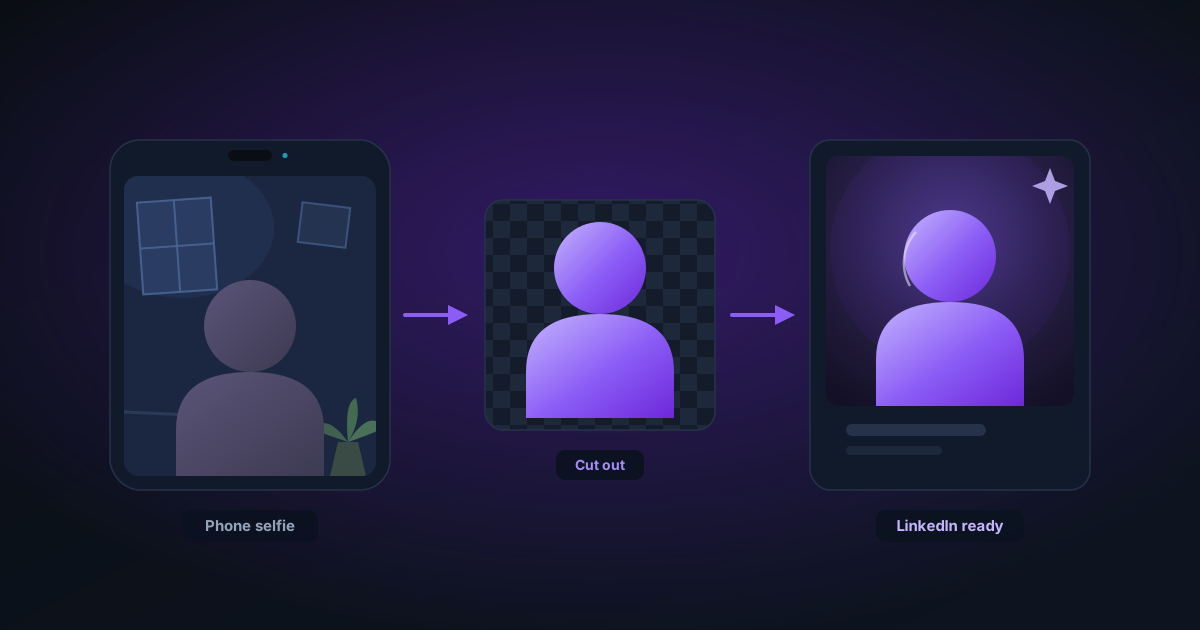
A Clean, Professional Headshot Background Without a Photographer
Turn a phone selfie into a credible LinkedIn or CV headshot by fixing the background in your browser, plus honest limits on what a clean backdrop can and can't rescue.
By Novus Stream Solutions Editorial Team · Part of the Browser-local editing workflows topic cluster
You know the photo. Arm outstretched, phone held slightly too low, and behind your head a drying rack draped with a grey towel, a half-open wardrobe, and the corner of a poster you have been meaning to take down since 2022. It is the picture that ends up on your LinkedIn profile because the deadline for that job application was yesterday and it was the least bad option in your camera roll.
The good news is that most of what makes that photo look amateur is the room, not you. Fix the background and you are surprisingly close to something you would be happy to put next to your name. The honest news is that the background is only about half the job, and no amount of editing rescues a photo shot in the dark. Let's do both halves properly.
What a clean background actually fixes
A messy background does two things to a headshot. It pulls the viewer's eye away from your face, and it signals "snapshot" rather than "considered". Replacing it with a plain or softly blurred backdrop removes the distraction and quietly raises the whole image a grade.
What it does not fix: hard shadows across half your face, a blown-out window behind you, a camera angle that looks up your nose, or a photo so small and soft that your eyes are a smear. Those are lighting and framing problems, and they happen in the room before you ever open an editor. So we start there.
Step 1: Shoot near a window, not under the ceiling light
Overhead lights cast shadows straight down: under your brow, under your nose, under your chin. That is why kitchen-selfie faces look tired. A large window does the opposite: soft, even light that wraps around your face.
- Stand a metre or so back from a window, facing it, so the daylight lands on your face. Not with the window behind you, or you become a silhouette.
- Aim for soft, indirect light. Bright overcast days are ideal. Harsh direct sun makes squinty eyes and hard-edged shadows.
- Hold the phone at eye level or a touch above, not below. Below-the-chin angles flatter no one.
- Frame from roughly mid-chest to just above the head, with a little space above your hair. Do not crop so tight that the top of your head is cut off. You want room to work with later.
- Use the rear camera if someone can hold it, or a self-timer propped on a stack of books. Rear cameras are almost always sharper than the front-facing one.
Take twenty frames, not two. Shift your weight, drop your shoulders, try a small genuine smile and a neutral one. You are looking for the shot where your eyes are sharp and your expression is relaxed. Everything after this assumes you already have that frame.
Step 2: Remove the background
Once you have a keeper, open the background remover and drop the photo in. It cuts you out from the room and leaves a transparent PNG, just you, on a checkerboard of nothing.
Everything runs in your browser. The image never leaves your device, which matters more than usual here: a headshot is your face and often your home behind you, and neither needs to be uploaded to somebody's server to have a wall swapped out.
Check the edges before you move on. Shoulders and jaw usually cut cleanly. The place it struggles is hair: more on flyaways in a moment.
Step 3: Choose a background colour that suits the platform
With yourself isolated, drop a new background behind you in the image editor. Resist the urge to get creative. Professional headshots live in a narrow, boring, effective range:
- Soft light grey is the safest choice going. It reads as neutral and considered on almost any platform, and it never fights your clothing.
- Off-white looks crisp and modern, good for a company team page. Pure bright white can tip into passport-photo territory. Slightly warm or slightly grey is friendlier.
- A muted, desaturated colour (deep navy, warm taupe, forest green) adds a little personality without shouting. Pick something that does not clash with what you are wearing.
- A soft blur of the original room keeps a sense of place and looks natural, provided the room was tidy enough to blur rather than delete. This is the "shallow depth of field" look a portrait lens gives you.
That last option raises a fair question: if you can just blur the background, why cut it out at all? The two approaches solve different problems, and it is worth understanding when each wins, we walk through exactly that in portrait blur vs background removal. Short version: blur keeps context and looks organic but cannot hide clutter; a clean replacement removes distraction completely but can look flat if the edges are rough. For a headshot destined for a tiny circular avatar, a plain replacement usually wins.
Step 4: Soften the edges around flyaway hair
Hair is where cutouts betray themselves. Strands that lift away from your head get chopped into a jagged fringe, or a thin pale halo of the old background clings to your outline. On a light-grey backdrop a dark halo is glaring.
In the editor, work the edge rather than the whole image:
- Nudge the cutout edge inward by a pixel or two to eat the halo left by the old background.
- Add a very slight feather to the outline so hair meets the backdrop softly instead of with a hard cookie-cutter line.
- If a chunk of hair went missing, a soft-blurred background hides the loss far better than a flat colour: the eye stops looking for a crisp edge.
Do not chase perfection strand by strand. At the size a headshot is actually viewed (a small circle on a profile, a thumbnail beside your email), nobody counts hairs. They notice halos and hard edges, so fix those and stop.
Step 5: Export at the right size, or upscale first
Different homes want different shapes:
- LinkedIn and most social profiles crop your photo into a circle. Keep your face centred with breathing room on all sides, or the crop will clip your forehead. Export a square.
- CVs, email signatures and website "about" pages usually want a rectangle or square: check what the specific template expects rather than guessing.
- Export larger than you think you need. A generous square that a platform downscales always looks sharper than a small one it has to stretch. Confirm any minimum dimension on the platform itself, since those specs change.
If your original phone shot was small or soft (an old photo, a heavy crop), run it through the image upscaler before exporting. It rebuilds detail so a tight crop of your face does not turn to mush.
The one line you should not cross
You can fix a background. You can even out skin lightly. What you should not do is change your face: slim the jaw, swap the eyes, generate a version of you that a colleague would not recognise across a meeting room. A headshot's entire job is to say "this is who will turn up". Edit the room all you like. Leave the person in it honest.
Get the light right, cut cleanly, pick a dull sensible backdrop, and you have a headshot that costs nothing and looks like you meant it.
Applies to NSS Background Remover v1.9.0 — the release that was current when this article was published.
Was this article helpful?
Your answer is saved in this browser only. This control makes no network request and does not send the answer to an NSS feedback endpoint.