Colourising Old Black-and-White Family Photos in Your Browser
Old family photos in black and white can be brought back to colour in your browser. No upload, no account. Here is how AI colourising actually works, an honest look at what it can and cannot recover, and a gentle workflow for the photos that matter most.
By Novus Stream Solutions Editorial Team · Part of the Product, privacy, and trust topic cluster
Most people have a box like it somewhere. A biscuit tin, a shoebox, an envelope at the back of a drawer: full of small grey photographs of people you half-recognise. A grandmother on a doorstep. A wedding party squinting into the sun. A child on a beach that could be anywhere. They are precious, but they are also a little remote, because the grey flattens them. Colour is how we remember being alive, and these photos never had any.
So we brought back the colorize tool, and we want to be honest about what it does before you get your hopes up. It does not restore the colours those photographs once had. Nothing can. What it does is make a careful, plausible guess, and sometimes that guess is enough to make a face feel present again.
Two ways to add colour, and when each one fits
There are two separate paths inside the colorize tool, and they work in completely different ways.
The first is an AI model (DDColor). It has looked at an enormous number of colour photographs and learned what tends to be what colour: skin, sky, grass, brick, wood. When you hand it a grey photo it predicts a full-colour version. It is the one that produces genuinely convincing skin tones and landscapes. The catch is its size: it is around 460 MB, so it is consent-gated. It will not download unless you opt in. That is deliberate. We are not going to pull half a gigabyte onto your phone without asking, and once it has downloaded it is cached, so you only pay that cost the first time.
The second is a classical LAB tint. This is not AI, and we will not call it that. It applies colour in the LAB colour space using the styles you pick, with no download at all. It is fast, it is light, and it is a good choice when you want a warm wash over a photo rather than a full reconstruction, or when you simply do not want to fetch a large model for one quick job.
A rough guide:
| You want... | Use |
|---|---|
| Convincing, realistic colour on faces and scenes | AI model (DDColor), consent-gated |
| A quick tint with no download | Classical LAB path |
| A period feel: sepia, vintage, faded | Either, with the matching style |
| To colour lots of photos with nothing to fetch | Classical LAB path |
The honest part: it guesses, it does not remember
This is the rule we will not bend. No tool recovers the true original colours of a black-and-white photograph, because those colours were never recorded. The film captured brightness, not hue. There is no hidden layer to bring back.
What the model does is infer. Grass is usually green, so it paints the lawn green. Skin is usually somewhere in a known range, so it warms the faces. Most of the time this lands well. But it can be confidently wrong. Your grandmother's dress that everyone remembers as deep green might come back a soft blue, because a blue dress was statistically the safer bet and the model has no way to know your family history.
That is where you beat the model. If you remember that the front door was red, or that the car was that particular bottle green, that memory is worth more than any prediction. The tool gives you a believable starting point; your recollection is what makes it true. Treat the result as a first draft you get to correct, not a verdict.
A gentle workflow for old prints
You will get far better colour if the grey image you start with is clean. Here is an unhurried way to do it.
- Capture the print well. If you are photographing it with a phone rather than scanning, use soft, even light. Near a window on an overcast day is ideal. Avoid direct glare and hard shadows. Fill the frame with the photo and hold the phone parallel to it so the edges stay square.
- If the scan is tiny, enlarge it first. A small or low-resolution scan gives the colour model very little to work with. Running it through the upscaler beforehand can help. Choose the Photo source, which uses a real-world super-resolution model suited to camera scans, including ones that were compressed or previously shrunk. Be realistic here too: upscaling invents plausible detail, it does not recover detail the original never captured. A stamp-sized scan will not become a poster. But going from cramped to comfortable often gives the colouriser more to reason about.
- Colourise. Open the colorize tool, drop the image in, and choose your path. Opt in to the AI model if you want the most convincing result, or stay on the classical tint if you would rather not download anything.
- Pick a style. There are five: realistic, vintage, sepia, saturated, and pastel. Realistic aims for natural colour. Vintage and sepia lean into a period look, which can suit an image that already feels of its era. Saturated pushes the colour harder; pastel keeps it gentle. Try more than one. They take moments.
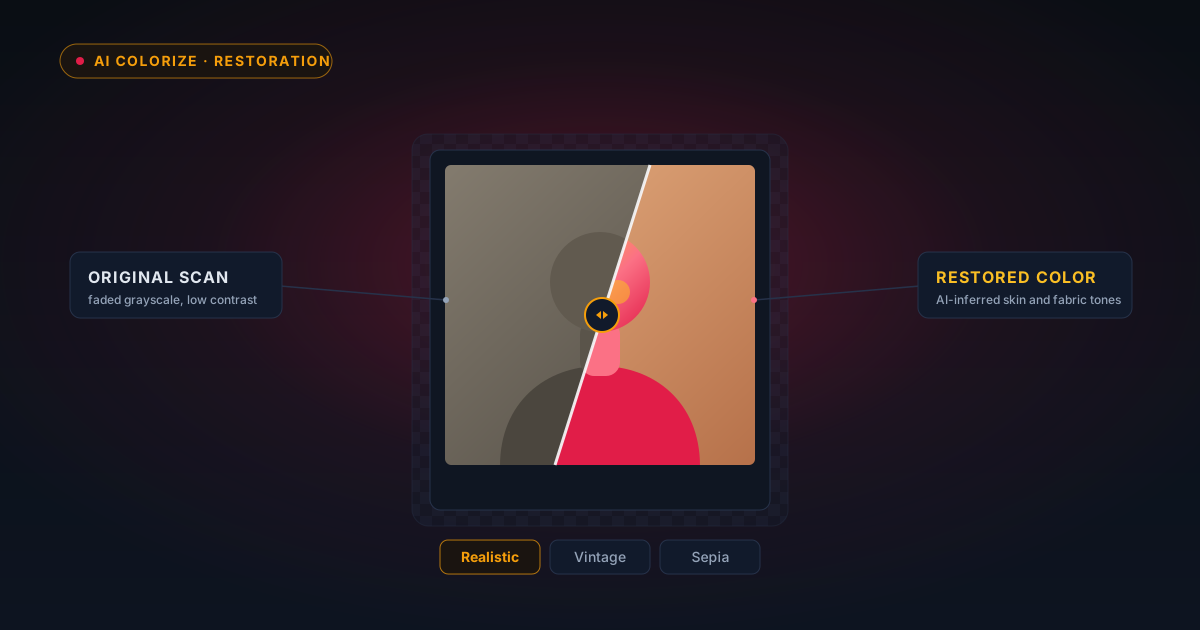
- Compare with the slider. The tool page has a before/after slider. Drag it back and forth. This is not just for show. It is how you catch a colour that has gone wrong. If the slider tells you the jacket looks plastic or the skin has gone orange, switch styles or accept that this particular photo is a harder case.
- Download, and you are done. Nothing was uploaded, nothing was saved, nothing lingers.
It lives in the editor too
Colorize is not only a standalone page. It sits inside the image editor, right beside Grayscale, as one of the utility tools. That matters when a photo needs more than colour: a crop, a levels tweak, a metadata strip before you share it. In the editor the colorize result is a normal, undoable step: apply it, look at it against the rest of your edit, and if it is not right, undo and try another style. You are not committing to anything.
If you are also dealing with fading, spots, or heavy damage rather than just absent colour, our companion guide on restoring old faded and scanned family photos walks through that side of the work, and the two tools pair naturally: clean the print up first, add colour last.
Why this stays on your device
Family photos are the most private images most of us own. They show children, homes, the insides of houses, the faces of people who are no longer here. The idea of feeding them to some server to be processed, and quietly retained, sits badly with a lot of people, and rightly so.
So none of that happens here. The photograph never leaves your device. The colour model runs in your browser, on your own hardware, using WebGPU where it is available and falling back to WASM where it is not. The image is not uploaded, there is no account, and there is no server in the processing loop. When you close the tab, the session is gone. If you want to understand the machinery underneath, how a real AI model runs entirely on the page with nothing sent anywhere, we wrote about what on-device AI actually means for creators.
For a shoebox of irreplaceable prints, that is not a small detail. It is the whole reason to use a tool like this rather than the first colouriser a search turns up.
Why we added it back: the honest-restoration idea
We took colorize out at one point, and bringing it back made us decide what we actually wanted it to be. It would have been easy to dress it up: promise "authentic restoration", imply the machine somehow knows what your grandmother wore. We did not want to build that, because it is a quiet lie, and a lie about someone's memories is a worse kind than most.
An honest restoration tool tells you where it stands. It offers you real, convincing colour and admits, plainly, that the colour is a guess. It gives you the slider so you can judge for yourself, keeps the classical path for people who want no download, and puts the correcting power, your memory, back where it belongs. The goal is not to fool you into thinking the photo was always in colour. It is to give you something warm and believable to sit alongside what you remember, and to be straight with you about the difference.
Dig out the tin. Pick one photo. The one you look at most. Give it colour, drag the slider, and see whether a face you thought you had lost to grey feels a little closer. When you are ready, start with the colorize tool; it is free, it downloads nothing until you say so, and your photographs never leave your hands.
Applies to NSS Background Remover v2.3.0 — the release that was current when this article was published.
Was this article helpful?
Your answer is saved in this browser only. This control makes no network request and does not send the answer to an NSS feedback endpoint.