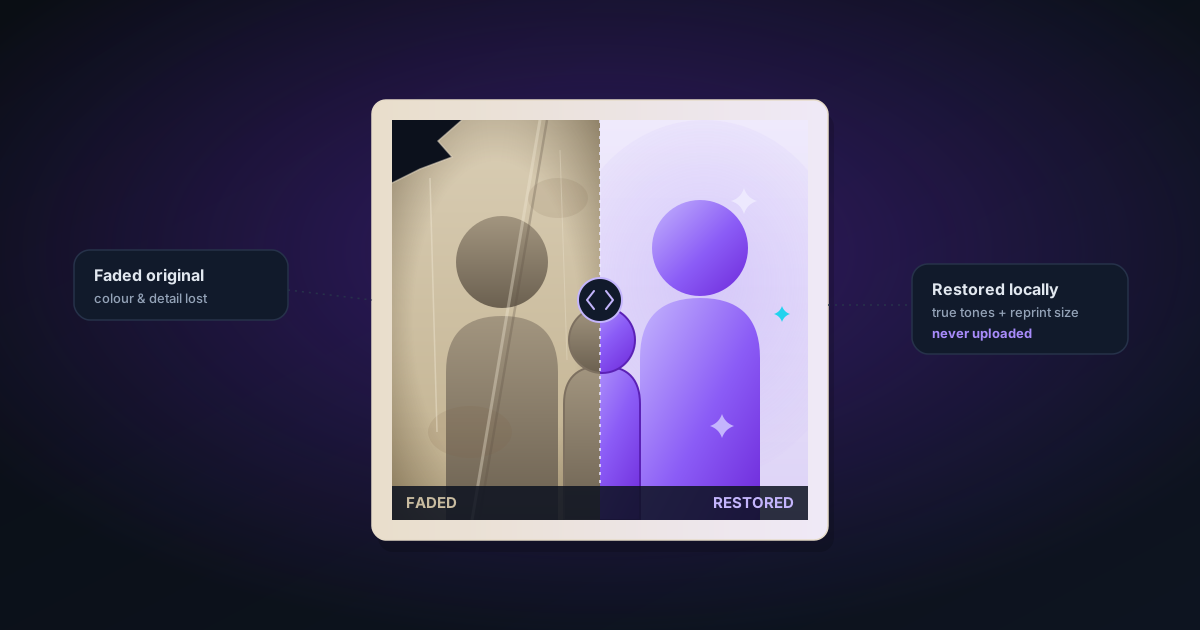
Bringing Old, Faded Family Photos Back to Life in the Browser
Scanned a box of faded, creased family prints? An honest, in-browser workflow to correct colour, recover size for reprinting, and preserve heirlooms without uploading a single pixel.
By Novus Stream Solutions Editorial Team · Part of the Browser-local editing workflows topic cluster
Pull a colour print from the 1970s out of a drawer and it has usually drifted towards the same shade of orange-brown. The cyan dye layer fades first, then the magenta, and what is left leans warm and flat, as if the whole picture were printed on weak tea. Black-and-white prints age differently: they yellow, they go brittle, and a hard white crease runs across someone's face where the print spent forty years folded into a wallet.
This is a different job from cleaning up a low-resolution digital photo. You are not starting with a file. You are starting with a physical object that has to be captured first, then coaxed back towards what it looked like when the shutter closed. And because these are heirloom photos, often of relatives still living, the last thing you want is to hand them to a cloud service. Everything below runs in your browser. The images never leave your device.
Start with the capture, not the edit
The single biggest lever on the final result is the scan, not any correction you apply afterwards. A poor capture caps how good the restoration can be, and no amount of editing fixes a blurry or skewed source.
A flatbed scanner beats a phone camera for flat prints, every time. A few settings matter:
- Scan at a high resolution. If you only ever want to reprint at the same size, a moderate resolution is fine. If you plan to enlarge, a small print becoming a framed A4, scan at 600 dpi or higher so there are real pixels to work with. Confirm the maximum optical (not interpolated) resolution your scanner actually offers.
- Save a lossless format. Choose PNG or TIFF, not JPEG. You will be pushing tones and colour hard, and JPEG compression artefacts get amplified with every adjustment.
- Turn off the scanner's "auto" everything. Auto colour, auto contrast, "restore faded photo", auto sharpening. Switch them all off. You want the honest raw scan and full control over the corrections yourself.
- Clean the glass and the print. A blower and a microfibre cloth remove dust you would otherwise spend an hour spot-healing later. Close the lid to press the print flat.
No scanner? A phone camera works if you are disciplined. Lay the print on a flat, dark surface. Light it with soft, even daylight from a window. Two sides if you can, never direct sun. Shoot straight down so the camera is parallel to the print, fill the frame, and lock focus before you press the shutter. Glare and keystone distortion from shooting at an angle are the two things that will quietly ruin the file.
Correct the tone and colour
Load the scan into the image editor. Work in this order, because each step changes what the next one is looking at.
Straighten and crop first. Remove the scanner bed, the ragged white border, any stray thumb. A clean rectangle makes every later judgement easier.
Reset the black and white points. Faded prints have no true black and no true white. The histogram is a hump bunched in the middle, which is exactly why the image looks flat and milky. Pull the shadow and highlight sliders inward until they meet the ends of the actual data. This one move restores most of the apparent life in a faded photo, because you are giving it back its contrast.
Neutralise the colour cast. Find something that ought to be neutral (a white shirt, a grey wall, teeth, the whites of eyes), and balance towards it. For the classic orange 1970s cast you are pulling warmth down and lifting blue slightly. Go gently. Over-correcting swings skin towards grey and lifeless, which reads as obviously "restored". Aim for believable, not clinical.
Denoise with restraint. Scanner noise and film grain respond to a light touch of smoothing, but push it too far and faces turn to plastic. Grain is part of the original; a little of it is honest.
Spot-heal the small stuff. Dust specks, hairs and pinholes patch away quickly. Be clear-eyed about the big damage, though: a deep crease straight across a face is manual patch-and-clone work, and there is no honest one-click button for it.
Recover size for a reprint
Only now, with tone and colour already right, should you think about upscaling, and only if you actually need to. A 600 dpi scan of a small print is already a large file, plenty for a same-size or modest reprint. Upscaling earns its place when you want a wall-sized print from a little original, or when the scan is soft and you want to smooth and enlarge it in one pass.
When you do need it, run the corrected file through the image upscaler. The reason order matters: upscaling amplifies whatever you feed it, colour cast and all, so you always correct first and enlarge second.
The mechanics of how upscaling adds pixels (2x versus 4x, why very small images need to be stepped up incrementally rather than in one giant leap) are covered in our guide to upscaling old low-res photos to 4K. That post is about digital images that were always small. This one is about a physical print you have just scanned well, where upscaling is the last mile of a restoration rather than the whole job.
What restoration can and cannot do
This is the part most tutorials skip, so here it is plainly. Enhancement redistributes and cleans the information that is present in the scan. It cannot invent detail that the print never held.
- A blurred face stays blurred. If someone was out of focus, moving, or tiny in the frame, the sharp eyes were never recorded. No tool recovers them, and upscaling only produces a larger blur. The data is not there to find.
- Fully faded colour cannot be truly recovered. Where a dye layer has decayed to nothing, there is no information left to rebalance. You can produce a plausible approximation of the original colour, but you are estimating, not restoring.
- Large missing areas are reconstruction, not restoration. A dust speck is a repair. A torn-off corner or a face eaten by mould is guesswork: sometimes convincing, but it is you inventing pixels, and it is honest to say so.
- Texture is part of the photo. Paper grain and film grain are the fingerprint of the original. Scrub them out entirely and you lose the very thing that made it feel like a real print.
Know when to stop and re-capture instead of fighting the software. If the scan is soft because the phone was tilted, re-shoot it. That is ten minutes well spent versus an hour of frustration. And sometimes the print is simply too far gone, and that is all right. A clean, honestly corrected scan is itself an act of preservation, even if it will never look new.
One genuinely useful trick for keepsakes: if you want a single person lifted out of a crowded or damaged group shot (for a memorial card, say) the background remover can isolate that subject onto a transparent or plain background once the tones are fixed.
Export, and never overwrite the original
- Keep the raw scan forever. It is the negative now. Save the untouched capture as PNG or TIFF and back it up somewhere separate from your working files.
- Export the corrected version at full resolution. PNG or a high-quality TIFF for a print lab; a high-quality JPEG is fine for sharing with family.
- Give the lab the biggest file you have and check their required dpi and dimensions on their own site before ordering: those specs vary by printer and by product.
A short checklist for the shoebox:
- Scan flat, at high resolution, auto-corrections off, saved lossless.
- Straighten and crop.
- Reset black and white points, then neutralise the cast, gently.
- Denoise and spot-heal lightly.
- Upscale only if you need the size, and only after correcting.
- Keep the raw scan; export a full-resolution copy for reprinting.
None of it touches the internet. For photographs this personal, that is the point.
Applies to NSS Background Remover v2.0.0 — the release that was current when this article was published.
Was this article helpful?
Your answer is saved in this browser only. This control makes no network request and does not send the answer to an NSS feedback endpoint.