From Photo to Cut File: Prepping Clean Cutouts for Cricut and Silhouette
Cutting machines trace the edge of your image exactly, so a fuzzy cut-out becomes a fuzzy sticker. How to prep a clean transparent PNG for crisp Cricut and Silhouette cuts.
By Novus Stream Solutions Editorial Team · Part of the Browser-local editing workflows topic cluster
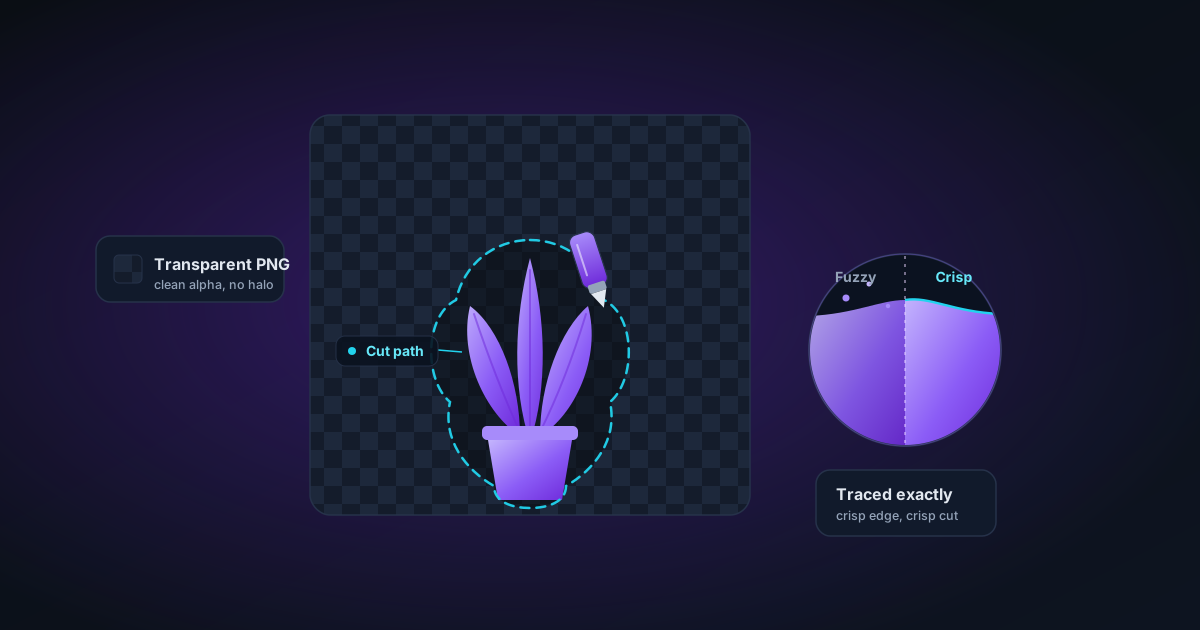
A cutting blade has no opinion about your artwork. It follows one line, the edge of the shape you feed it, and it follows that line exactly, every jaggy pixel and stray fringe included. Cricut Design Space and Silhouette Studio both work the same way at heart: their trace tool looks at your image, decides where the subject stops and the background starts, and turns that boundary into a cut path. Hand the software a clean transparent PNG and you get a clean path. Hand it a haloed, feathered cut-out and you get a furry decal that looks chewed rather than cut.
So the quality of a die-cut sticker or vinyl decal is decided long before the mat goes into the machine. It's decided at the edge of your PNG. Here's how to get that edge right.
What the trace tool actually sees
When you import a picture, the machine's trace function doesn't understand "cat" or "logo". It measures contrast, or reads the transparency, and picks a threshold: everything on one side becomes the shape, everything on the other is discarded. There is no half-cut. A pixel is either inside the path or outside it.
That threshold is where soft edges betray you. If your cut-out has a six-pixel feathered edge or a pale matte fringe left over from a sloppy background removal, the trace has to guess where the real boundary sits. Nudge the threshold one way and the path bloats; nudge it the other and it eats into the subject. Either way the outline wobbles. A crisp alpha edge (subject fully opaque, background fully transparent, only a thin band of anti-aliasing between) gives the trace nothing to argue with.
Start with a genuinely clean cut-out
Everything downstream depends on the removal. Run your photo through the background remover and check the edge at 100% zoom, not the thumbnail. Look for three things: a light halo where the old background is still clinging on, chunks missing from thin features like handles or ears, and stray transparent holes inside the subject.
Hair, fur and anything wispy is where cut files get hard, and it is worth being blunt: a machine blade cannot cut individual strands of hair. Even a perfect PNG of a fluffy dog becomes a smoothed silhouette once it is a path. If your subject has a soft outline, plan for the cut to simplify it, or choose a subject with a firmer edge.
Full-colour sticker or solid silhouette?
This is the fork that changes everything, and most tutorials skip it.
If you are making a print-then-cut sticker (the full-colour image printed on sticker paper, then cut out), you keep the photo and its transparent background. The trace follows the alpha edge to produce the cut line around your printed art.
If you are cutting single-colour vinyl (a decal, a label, a shirt transfer), you don't need the photo at all. You need the shape. The blade cuts one colour of material, so the smartest move is to throw the colours away and trace a solid silhouette: the subject filled flat, sitting on transparency. A solid shape gives the trace a single unambiguous boundary and no internal detail to trip over, which is exactly what you want for a decal. You can flatten a cut-out to a solid fill in the image editor before you export.
Deciding this first saves you fighting the trace tool later.
Tighten the edge, and rescue small sources
Two quick jobs before export.
First, the edge. If the removal left a faint fringe, contract or refine the alpha by a pixel or so, so the boundary is the subject and not the ghost of its old background. A clean edge here is worth more than any setting inside the cutting software.
Second, resolution. A tiny 240-pixel logo pulled off a website will trace into a jagged, stair-stepped path because there simply isn't enough edge information to describe a smooth curve. Enlarging it first with the image upscaler gives the trace more pixels to follow and a smoother line. Be realistic about what that buys you, though: upscaling adds resolution, not detail that was never captured. If the source is a blurry, low-contrast thumbnail, a bigger version is still blurry, and no trace threshold will invent a crisp edge. Sometimes the honest answer is to find or re-shoot a better original.
Padding and the sticker border
Two different things get muddled here, so keep them separate.
Padding is transparent margin around the whole image. Add a border of empty space so your subject isn't pressed against the canvas edge. A shape touching the frame can confuse the trace and get clipped, and print-then-cut wants a little room around the art anyway. Extending the canvas in the editor takes seconds.
The white sticker border, that even outline hugging the contour of a die-cut sticker, is a different operation. It is an offset: a second path pushed outward from the shape by a fixed distance. Canvas padding cannot produce it, because padding is rectangular and the border needs to follow every curve. That offset is built inside Design Space or Silhouette Studio, where you tell it how far out to push the outline. What you export from here is the clean shape; the machine software grows the border from it.
Kiss-cut, by the way, just describes the cut depth: the blade cuts the vinyl and adhesive but leaves the backing sheet, so the sticker peels away and the backing stays flat. It is a setting on the machine, not something baked into your PNG.
Export the file the machine will trust
Export as PNG with transparency. Not JPEG. JPEG has no alpha channel, so it fills your background with white and smears compression fringing along the very edge you worked to clean, which is the last thing a trace tool needs. PNG keeps the alpha exact.
That true, unpremultiplied alpha edge is the whole game for cutting. If you want the deeper version of why a transparent edge behaves the way it does, and how the same file behaves when it is printed onto a product rather than cut, a genuinely different pipeline, our guide to transparent PNGs for print-on-demand covers that side.
Handing it to the trace tool
Import your PNG, open the trace or image-trace function, and look for a threshold or detail slider. Because your edge is already clean, you should barely need it. Nudge it just enough that the preview outline sits on the subject with no fringe caught outside it. Delete any stray traced specks, confirm the path is a single continuous outline, then send it to cut. Do a test cut on offcut material before you commit a full sheet of vinyl; blades and materials vary, and five minutes of testing saves a wasted roll.
Pre-cut checklist
- Edge checked at 100% zoom: no halo, no missing thin parts
- Decided: full-colour print-then-cut, or solid silhouette for vinyl
- Small or soft source upscaled, or replaced with a better original
- Transparent padding added so the shape clears the canvas edge
- Exported as PNG with transparency, never JPEG
- Test cut on scrap before the real material
Get the PNG right and the machine does the boring part perfectly. The blade will follow whatever line you give it, so give it a good one.
Applies to NSS Background Remover v1.9.0 — the release that was current when this article was published.
Was this article helpful?
Your answer is saved in this browser only. This control makes no network request and does not send the answer to an NSS feedback endpoint.