Preparing Transparent PNGs for Print-on-Demand (Without Getting Your Design Rejected)
Print-on-demand platforms reject more uploads over file problems than over art quality. A focused guide to DPI, true transparency, edge halos, and the export settings that pass Printful, Printify, and Redbubble checks the first time.
By Novus Stream Solutions Editorial Team · Part of the Publishing and marketplace requirements topic cluster
Print-on-demand looks like a design business, but a surprising amount of it is a file-formatting business. The designs that sell aren't always the most creative ones — they're the ones that uploaded cleanly, printed without a grey box around the artwork, and didn't get flagged for low resolution. This guide is about that unglamorous middle layer: turning a piece of art into a print-ready transparent PNG that POD platforms accept and printers reproduce faithfully.
The two rejections that catch everyone
Almost every POD upload failure comes down to one of two things:
- Not actually transparent. The art looks fine on screen but prints with a white or black rectangle behind it because the "transparent" background isn't truly transparent.
- Too low resolution. The image is the right pixel count for the web but far too few pixels for a 12-inch print at the DPI the printer needs.
Get these two right and most of your rejections vanish. Let's take them in order.
Transparency that survives the printer's pipeline
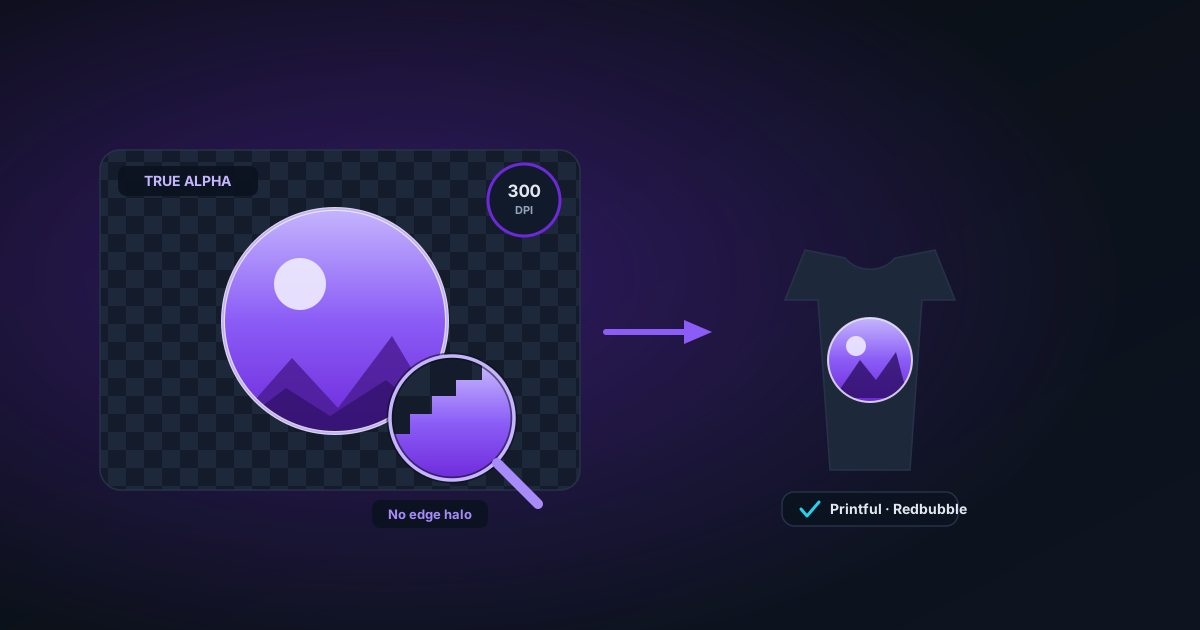
When you cut a design out and the background needs to be the garment colour (the shirt, the mug, the tote), that background must be genuinely empty — an alpha channel where pixels are transparent, not white pixels pretending to be.
This is where a lot of free tools quietly fail. They produce a PNG that looks transparent in a browser but carries a black or white fringe along the edges, or has its colour data baked against a background it then "removed." When the printer composites your art onto a coloured product, that hidden fringe shows up as a halo. The technical culprit is usually premultiplied alpha — we explain it in detail in Why Your Transparent PNG Shows Black in Photoshop.
The fix is to use a tool that outputs straight (un-premultiplied) alpha, so the colour under the edge is preserved and the cutout drops onto any garment colour without a ring. Run your art through the background remover and then verify it before you upload — don't trust the on-screen preview. Drop the result into Check Transparency, which shows you the actual alpha channel against a checkerboard and a few solid colours. If the edges stay clean against black and against a dark garment colour, you're safe.
Resolution and DPI: the math POD platforms don't explain well
Platforms throw around "300 DPI" without telling you what that means in pixels, which is the only thing that matters for your export.
DPI (dots per inch) only has meaning once you fix a physical print size. The formula is simple:
pixels needed = print size in inches × DPI
So a design printed 12 inches wide at 300 DPI needs 3,600 pixels of width. A standard 4500 × 5400 px file (the common Printful/Printify upload spec) is exactly 15 × 18 inches at 300 DPI — which is why that number shows up everywhere.
Here's the trap: a design that looks razor sharp on your screen at 1200 px is nowhere near print resolution. Screens are ~100–150 PPI; print is 300. Your web-perfect file is roughly a quarter of the linear resolution a printer wants.
What to do when your art is too small
If your source is too low-resolution — an old logo, a scanned sketch, a small mockup — don't just stretch it. Stretching adds blur and the printer's preflight will flag it. Instead, upscale it with AI before exporting. The AI upscaler reconstructs detail rather than interpolating it, taking a soft 1000 px design up to a printable size with crisp edges. For very small originals, do it in steps; we cover the arithmetic in The Math Behind Upscaling a 176px Thumbnail.
A clean print-on-demand export workflow
Here's the order of operations that produces a file that passes the first time:
- Cut the background out with the background remover so the design sits on true transparency.
- Verify the alpha in Check Transparency against dark and light backgrounds. No halos.
- Upscale if needed with the AI upscaler until the pixel dimensions clear your print size × 300.
- Add padding/canvas if the platform wants the art centred in a fixed canvas — use Canvas Extender to place it on a transparent canvas of the exact required dimensions without distorting the art.
- Export as PNG-24 with alpha. Never PNG-8 (it caps you at 256 colours and a 1-bit alpha that destroys soft edges). Never JPG (no transparency at all).
Platform-specific gotchas
| Platform | Common requirement | The thing people miss |
|---|---|---|
| Printful | 150–300 DPI, PNG with transparency | Their preview shows the print area — art outside it silently crops |
| Printify | 300 DPI recommended, PNG/JPG | Different providers want different canvas sizes; check per-blueprint |
| Redbubble | High-res PNG, transparent for stickers/shirts | One file is scaled across many products — size for the largest (posters) |
| Gelato / SPOD | 300 DPI | sRGB only; wide-gamut files shift colour on print |
That last row points at a quieter issue: colour space. Printers expect sRGB. If your art is in Display P3 or Adobe RGB, saturated colours can print duller or shift hue. Convert to sRGB before export — we cover why in Best Color Spaces for Product Photography.
Transparent vs. solid: know what the product needs
Not every POD product wants transparency:
- Apparel, stickers, phone cases, tote bags: transparent PNG, so the design floats on the product colour.
- Posters, framed prints, canvases: usually a full-bleed solid design — transparency does nothing, and you may want a defined background colour instead. Use Add Background to fill it deliberately rather than leaving an accidental transparent edge that prints white.
One last sanity check before you hit upload
Open your final PNG one more time in Check Transparency, toggle the background to the actual garment colour you'll print on, and zoom into the edges at 100%. If there's no ring, no jagged stair-stepping on curves, and the pixel dimensions clear your print-size math, your design will sail through preflight. Everything above runs in your browser — your unreleased designs never touch a server, which matters when your whole business is the art nobody's copied yet.
Was this article helpful?
Your answer is saved in this browser only. This control makes no network request and does not send the answer to an NSS feedback endpoint.