Rescuing Tiny, Low-Res Photos: Upscaling Old Images to 4K in Your Browser
That 640×480 photo from a 2006 digital camera doesn't have to stay small. A practical guide to AI upscaling old, low-resolution images to print-and-display size on your own device — what it can recover, what it can't, and the order of operations that works.
By Novus Stream Solutions Editorial Team · Part of the Browser-local editing workflows topic cluster
Everyone has them: the folder of photos that were huge in their day and are tiny now. A 1.3-megapixel shot from a 2006 point-and-shoot. A profile picture saved at 200 pixels because that's all the website needed in 2011. A screenshot of a screenshot. They looked fine when screens were small and the only place they lived was a chunky CRT monitor. On a modern 4K display or a print, they fall apart — soft, blocky, and a fraction of the canvas.
This is the article about bringing those back. Not faking detail that was never there, but reconstructing a believable, much larger version that actually holds up at display and print size — entirely on your own device, with nothing uploaded.
First, get the expectation right: upscaling reconstructs, it doesn't invent
The honest framing matters, because it tells you which photos are worth the effort.
AI super-resolution doesn't retrieve lost detail — that information is genuinely gone the moment the photo was saved small. What it does instead is reconstruct: a model trained on millions of image pairs has learned what a sharp edge, a strand of hair, or a brick texture tends to look like at high resolution, and it rebuilds plausible detail consistent with the low-res input. The result is a clean, sharp, larger image — but the fine specifics are an educated reconstruction, not a recovered original.
What that means in practice:
- Edges, textures, and structure upscale beautifully. A soft building, a blurry landscape, a fuzzy product — these sharpen up convincingly.
- Tiny faces and text are the hard case. If a face is only 30 pixels wide in the original, there isn't enough there to reconstruct who it is faithfully. The model will produce a face, sharp and plausible, but don't expect it to nail a specific person's features from almost nothing.
Keep that in mind and you'll pick the right photos and avoid disappointment.
The two-pass idea: clean first, then enlarge
Old low-res photos usually carry two problems at once — they're small and they're degraded (JPEG blocking, colour noise, compression mush). Upscaling a degraded image faithfully enlarges the degradation too: now you have big, sharp JPEG blocks. So the order of operations is the whole game.
The reliable sequence is clean, then enlarge:
- Reduce the noise and artifacts first. Clearing the colour speckle and JPEG blocking before you enlarge means the upscaler isn't reconstructing detail on top of garbage — even a light denoise or smoothing pass in an image editor helps here.
- Upscale the cleaned image with the AI upscaler. Now the model has a clean input to work from, and the reconstructed detail is built on signal instead of compression noise.
Doing it in this order routinely produces a dramatically better result than throwing the raw old photo straight at the upscaler.
Getting a small image all the way to 4K
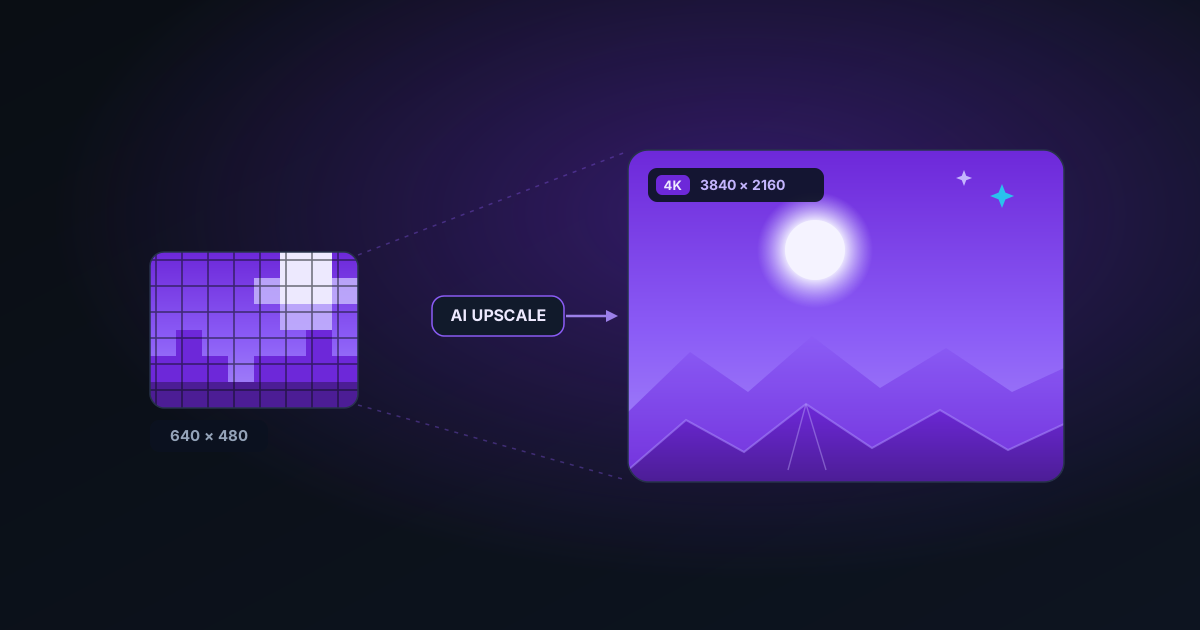
Here's where people get tripped up. A fixed "4× upscale" turns a 640×480 photo into 2560×1920 — good, but not quite 4K (3840×2160). And a "2×" barely helps a really tiny input. Reaching a genuine 4K-class size from a small original often needs a plan, not a single button press.
The AI upscaler handles the scaling factor for you, but it helps to understand the math: target pixels ÷ source pixels = the total factor you need. From a 640-wide image to a 3840-wide 4K frame is a 6× jump. No single super-resolution pass does 6× cleanly, so a good tool cascades — it runs a model pass, then another, stepping up in stages rather than stretching in one giant leap. Each stage works on a sane input size and the quality compounds. We worked through this arithmetic in detail in The Math Behind Upscaling a 176px Thumbnail to 2048px — the same logic applies to any small original.
A complete workflow for a folder of old photos
- Triage. Separate the photos worth the effort (good composition, recoverable subject) from the truly hopeless (sub-100px, the subject indistinguishable). Spend your time on the keepers.
- Clean each one — a light denoise or smoothing pass to clear compression artifacts and colour speckle before enlarging.
- Upscale with the AI upscaler to your target size. For a small original aiming at 4K, let it cascade in stages rather than forcing one massive factor.
- Give portraits extra care. Faces are where the eye lands first, so upscale people-photos at a gentler factor and cascade in stages — pushing a small portrait straight to 4K in one jump is where skin and eyes go mushy.
- Final tidy. A light sharpen or contrast nudge in the editor to taste, then export.
When the photo is old as well as low-res — not just small
There's a meaningful difference between a low-res modern image (a small screenshot) and a genuinely old photo (a scanned print, a faded snapshot, something with scratches). Upscaling makes a small-but-clean image bigger; it won't rebuild a scratch or a torn corner, which is missing information rather than soft information. Use this article's clean-then-upscale flow for small but clean images; for physically damaged prints, repair the scratches in the editor first, then upscale.
Practical tips that change the result
- Don't pre-stretch in another app. If you've already enlarged the image with a basic editor (bicubic/bilinear), you've baked in blur the AI now has to fight. Always feed the upscaler the original small file, not a manually enlarged one.
- Mind your output format. Export the upscaled result as PNG if you'll edit further (no recompression), or high-quality JPG/WebP if it's a final share. Don't save a freshly upscaled image back as a low-quality JPEG — you'll reintroduce the blocking you just removed.
- Match effort to destination. A photo destined for a phone screen doesn't need 4K; a photo going to a 16×20 print does. Upscale to what the destination needs and no further — bigger isn't automatically better, and huge files are slower to handle.
- Reset expectations on tiny faces. If recognising a specific person matters and the face is only a handful of pixels, no upscaler will deliver. That's a limit of information, not of the tool.
Why doing this on-device is the right call
Old photos are personal. Family snapshots, scanned prints, pictures of people who may no longer be around — these are exactly the images you don't want to hand to a random cloud service that might retain or train on them. Every step above runs in your browser: the models download once and cache, then the denoise, upscale, and face-restore passes all happen on your own GPU or CPU. Your photos never leave the device. You can rescue an entire shoebox of old images on a laptop with the Wi-Fi off, and the only thing that ever exists outside your machine is the finished file you choose to save.
The takeaway
Small, old, low-res photos aren't a lost cause — but the result depends on doing the steps in the right order. Clean the degradation first, upscale in sensible stages toward your real target size, restore faces if there are people, and keep your expectations honest about what reconstruction can and can't recover. Do that, and a 640-pixel relic from two laptops ago can become something you'd actually print and frame.
Was this article helpful?
Your answer is saved in this browser only. This control makes no network request and does not send the answer to an NSS feedback endpoint.