Prepping VTuber and Avatar Assets: Transparent PNGs That Layer Cleanly
VTuber and PNGtuber rigs are stacks of transparent layers. Here's how to cut expression sprites that share one anchor, lose the white halo, and never twitch on a scene swap.
By Novus Stream Solutions Editorial Team · Part of the Browser-local editing workflows topic cluster
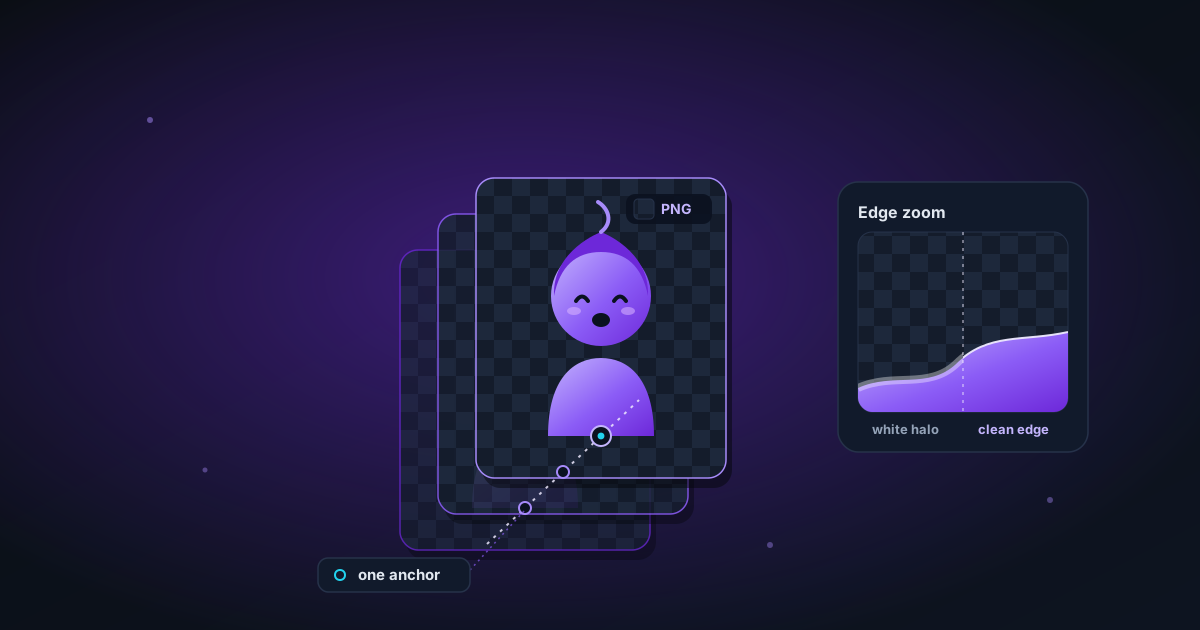
A PNGtuber opens their mouth to talk and the whole head hops three pixels to the right. Nobody planned that hop. It happens because the "mouth open" sprite was exported trimmed to its own edges while the "mouth closed" one kept a little more headroom, and the avatar software pins both to the same anchor point. The art is fine. The alpha is fine. The framing drifted, and now the character twitches every time they speak.
That twitch, along with the pale outline that shows up the moment a cutout lands on a dark scene, is the whole difference between a rig that looks built and one that looks pasted on. This is about prepping avatar art into transparent PNGs that stack cleanly, hold their registration across every expression state, and don't announce their edges.
Your avatar is a stack, not an image
A VTuber or PNGtuber setup is rarely one picture. It's a pile of transparent layers composited live: an idle pose, a talking pose, maybe a blink, a set of expression swaps (happy, deadpan, panic), and then the furniture around them: a chat box, a "be right back" card, a webcam frame, alert graphics.
Mic-reactive apps like Veadotube mini or PNGTuber Plus do the swapping for you: they watch your input level and flip between a closed-mouth and open-mouth sprite. OBS then layers everything else on top. Every one of those pieces is a separate PNG with its own alpha channel, and every one has to sit in exactly the right place relative to the others.
Which means the job isn't "remove one background". It's "cut a set so the set behaves like a rig". Two things carry that: consistent framing and clean edges. If you only take one idea from this piece, make it those two.
If you just need a single cutout (a Discord emoji, a sticker, a profile avatar), that's a simpler job, and the social cutouts and stickers guide covers it directly. Come back here when you have a multi-state rig to keep in register.
Start from the cleanest source you can
Before you cut anything, be honest about what you're cutting.
If your artist gave you a layered file (PSD, Clip Studio, Procreate) with the character already on its own transparent layer, use that. Export each state straight from the layers and you never touch a background remover at all. The alpha is already correct, including the soft wisps of hair and any glow effects. Nothing beats real vector or layered transparency.
You reach for the background remover when you don't have that: a flat render, a commissioned piece delivered as a single JPEG, a photo of yourself for a face-cam PNGtuber, or reference art on a solid colour. Those flatten the character onto a background, and pulling it back off is exactly what an in-browser cutout is for. No upload, no account, the art never leaves your machine.
A candid limit: flattened line art on a plain colour sometimes cuts cleaner with a colour-key or magic-wand selection than with an AI matte, because the boundary is a hard edge, not a photographic gradient. And semi-transparent bits (glass visors, wispy hair tips, additive glow) are where any automatic cut struggles. If those matter to your design, get them from a layered source rather than trying to recover them from a flat image.
Cut every state on an identical canvas
This is the registration rule, and it is the one most people get wrong.
When you cut a sprite, resist the urge to trim it to its own bounding box. If "mouth closed" ends up 900×1100 and "mouth open" ends up 902×1094, your avatar software anchors them differently and the character jitters. Keep the same canvas size and the same anchor position for every state in a set.
The clean way to do it:
- Cut each state so the character has a correct transparent edge.
- Drop each cutout onto a shared canvas of fixed dimensions: the same width and height for all of them.
- Position the character identically on every one. The head, shoulders, and pivot point should land on the same pixels in every sprite.
- Export each as its own PNG. Same dimensions out, same alignment.
The image editor is where you standardise this: set a canvas size once, then place each cutout so its anchor matches. Extra transparent space around the character is not wasted. It is the shared coordinate system that keeps the stack from drifting.
The anchor test
Quick check before you commit a set: open two states as layers and flick the top one's visibility on and off. Only the mouth (or eyes, or whatever changed) should move. If the whole body shifts, your framing isn't matched yet. Fix it now. It is far worse to discover it mid-stream when the head is bouncing on every syllable.
Kill the white halo
The pale fringe around a cutout is matte contamination: leftover background colour clinging to the semi-transparent edge pixels. It's invisible on a white scene and glaringly obvious on a dark one, which is why it always seems to appear after you've dropped the avatar onto your actual overlay.
To keep it under control:
- Don't cut art that was drawn on pure white if you can avoid it. White contaminates edges the most and is the hardest to hide against a dark scene.
- After cutting, pull the alpha edge in by a pixel or two (a slight erode/contract) so the outermost, most-contaminated ring is dropped rather than left semi-transparent.
- Preview the cutout against the darkest background it'll ever sit on, not against the editor's default checkerboard. A halo you can't see on grey will jump out on a near-black scene.
If your rig lives on both bright and dark scenes, test against both. An edge tuned only for one can look wrong on the other.
Low-res art: upscale first, then cut
If your only source is a small render, a 512-pixel-wide avatar from an old commission, enlarge it before you cut, not after. Cutting first and scaling the transparent result up tends to smear the alpha edge into mush.
Run the source through the image upscaler to get to a sensible working resolution, then do your cutting and framing on the larger version. Two honest caveats: upscaling invents detail that was never captured, so a tiny or heavily compressed source won't come back as crisp linework, and if the original is genuinely tiny, re-commissioning or re-exporting at a proper size beats any amount of enlarging.
Keep expression sets consistent
An expression set is a batch, and it should be treated like one. Every sprite in the set wants the same canvas size, the same anchor, the same edge treatment, and the same colour handling. If you brighten or warm one expression, do the same to all of them. Otherwise the character subtly changes tone every time they react, which reads as a flicker.
Name them predictably too (idle, talk, blink, angry) so your avatar software and your future self can tell them apart at a glance.
Animated mouths and looping props
Most PNGtuber apps do the animation themselves by swapping discrete PNGs off your mic level, so you usually don't need a baked animation for basic mouth flap. You need clean, well-registered still frames. That's the common case and the simplest.
For looping props (an animated badge, a shimmering border, a bouncing mascot), you do need a moving format, and the format matters for transparency:
- APNG (animated PNG) keeps a full alpha channel and looks clean, but not every tool reads it.
- Animated WebP also carries full alpha and is widely supported now.
- GIF only supports on/off transparency, every pixel is either fully opaque or fully invisible, so soft edges turn into a jagged, fringed outline. Fine for hard-edged pixel art; poor for anything with a feathered boundary.
If your animated element is genuinely a short video clip rather than a sprite loop, keep it as a video layer in OBS instead of forcing it into an image format.
A quick pre-stream checklist
- Every state in a set exports at the same dimensions with the same anchor.
- Flicking between states moves only the part that changed: no whole-body jump.
- Edges checked against your darkest scene, not just the checkerboard.
- Alpha pulled in a pixel or two on cutouts that came off a light background.
- Low-res source upscaled before cutting, not after.
- Animated props saved as APNG or WebP if they have soft edges: never GIF.
- Files named so you can find
talkversusidleat 2 a.m.
Get the framing matched and the edges clean, and the stack does what a good rig should: it disappears. Nobody watching thinks about your layers. They just see a character who sits properly in the scene and doesn't twitch when they speak.
Applies to NSS Background Remover v1.9.0 — the release that was current when this article was published.
Was this article helpful?
Your answer is saved in this browser only. This control makes no network request and does not send the answer to an NSS feedback endpoint.