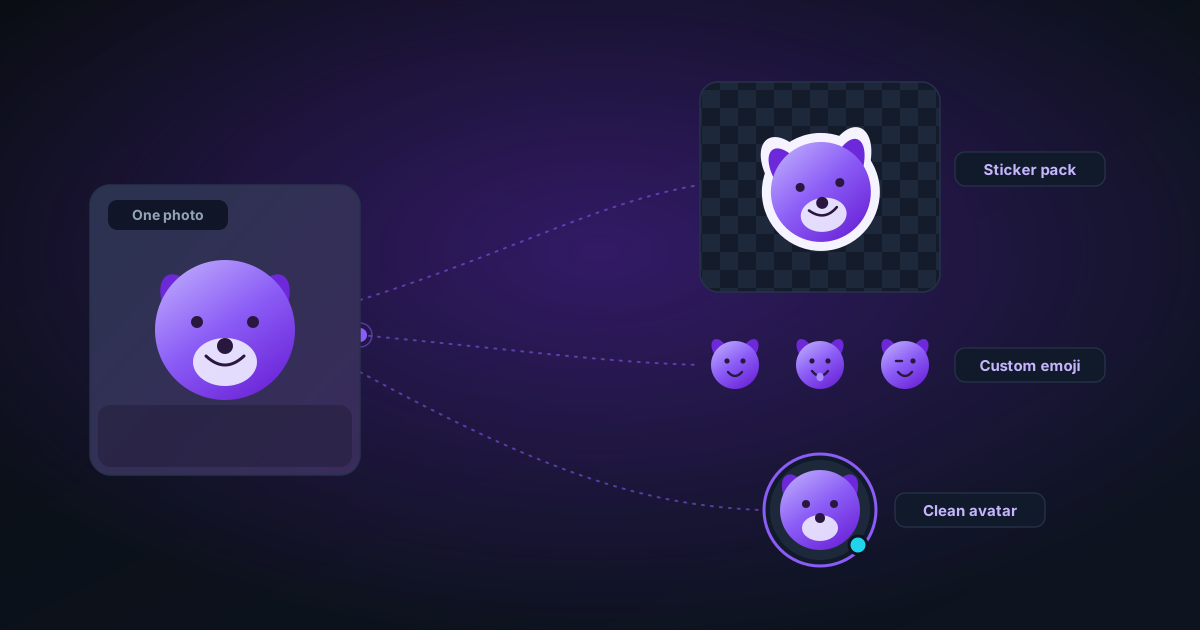
From One Photo to a Whole Sticker Pack: Cutouts, Emojis, and Avatars
Your dog, your face, your product mascot — one good photo can become a sticker pack, a set of custom emojis, and a clean avatar. Here's the playful, practical workflow for turning a single image into social-ready cutouts, all in your browser.
By Novus Stream Solutions Editorial Team · Part of the Browser-local editing workflows topic cluster
The internet runs on little cropped images. A reaction sticker of your cat mid-yawn. A custom emoji of your own face making that expression. A crisp circular avatar that doesn't have a weird grey box behind your head. These all start from the same humble place — one decent photo — and the only thing standing between that photo and a usable cutout is a clean edge and the right export shape.
This is the fun guide. Not corporate product photography, not print preflight — just turning the photos you already have into the stickers, emojis, and avatars you actually want to send and use. All of it runs in your browser, so even the goofy selfies stay on your device.
The one move everything depends on: a clean cutout
Every sticker, every emoji, every transparent avatar begins by lifting the subject off its background. If the cutout is rough — a halo of the old background, a chewed-up edge around hair — every downstream use inherits that flaw. So spend your effort here first.
Drop your photo into the background remover. It isolates the subject (you, your pet, your mascot, your sandwich) and returns a true transparent PNG. A few things make this step land:
- Pick a photo with separation. A subject that stands out from its background cuts cleaner than one that blends in. A dog on grass beats a black cat in a dark room.
- Mind the fuzzy edges. Fur, frizzy hair, and feathers are the classic hard case. If your subject is fluffy, use the Best Quality model — see removing backgrounds from photos with hair and fur — so the edge looks soft and natural instead of cut with scissors.
- One subject per cutout. Stickers and emojis read best as a single clear thing. If your photo has two people, cut them separately for two stickers.
Now you're holding a clean transparent subject. Everything below is just shaping it for each destination.
Stickers: keep the personality, add the outline
A sticker is a cutout with attitude. The classic messaging-app sticker look is a subject with a chunky white (or coloured) outline around it — that border is what makes it pop on any chat background, light or dark.
The fastest path is the background remover: lift your subject out to a clean transparent PNG, then add a white outline in the editor for that tactile, peel-off feel. The border does real work — it separates the sticker from busy wallpaper.
To build a pack rather than a one-off, shoot or gather a few photos of the same subject with different expressions or poses — happy, surprised, side-eye, asleep — and run each through the same flow. Consistency across the set (same outline thickness, same style) is what makes it feel like a designed pack instead of random crops.
Emojis: small, square-ish, and legible at 32 pixels
Custom emojis for Discord, Slack, and Telegram are a different beast from stickers because they're displayed tiny. The whole challenge is legibility at a postage-stamp size.
The background remover plus the editor handle exactly this: cut out the subject, then control the padding and corner radius on the canvas, and export in the platform's required sizes. The two things that make an emoji actually readable at small scale:
- Crop tight to the meaningful part. If the emoji is your face, fill the frame with the face — not your whole torso shrunk to nothing. The emotion has to read at 32×32 pixels.
- Add a little padding. Emojis butt right up against text and other emojis. A small transparent margin stops it looking cramped.
Each platform has its own size requirements and padding rules — check the destination app's emoji/sticker guidelines and export to match (Discord, Slack, and Telegram all publish their own specs).
Avatars: the clean, centred, no-grey-box headshot
An avatar has the opposite problem from a sticker: it usually needs a background, not transparency, because most platforms crop avatars into a circle and a transparent PNG shows up as an ugly empty square or a default grey.
The recipe:
- Cut yourself out in the background remover.
- Drop the cutout onto a clean background with Add Background — a solid brand colour or a soft gradient. This is what gives you that polished, deliberate look instead of whatever cluttered room you happened to be standing in.
- Centre and square the frame. Avatars are cropped to a circle, so keep your head centred and leave even margin all around, or the circular crop will lop off the top of your hair or one ear. Canvas Extender lets you set an exact square canvas and position the subject in it.
- Export square (e.g. 512×512) so every platform's circular mask lands cleanly.
The payoff: one consistent avatar you can use everywhere, with the same background colour, so your presence looks coordinated across every app.
A quick comparison: which shape for which use
| Output | Background | Shape / size | Key to getting it right |
|---|---|---|---|
| Sticker | Transparent + outline | Subject's natural shape | Chunky border so it reads on any chat background |
| Emoji | Transparent | Small square, tight crop | Must be legible at ~32px; crop to the meaningful part |
| Avatar | Solid / gradient fill | Centred square (cropped to circle) | Leave margin so the circle doesn't clip you |
Tips for a set that looks designed, not dashed-off
- Reuse one cutout master. Cut the subject out once to a clean transparent PNG, then make the sticker, emoji, and avatar from that same master. Re-cutting per use wastes effort and risks inconsistency.
- Decide your palette. If your sticker outline is white and your avatar background is hot pink and your emoji has a blue border, the set feels scattered. Pick one or two colours and use them across everything.
- Test at real size before you commit. Preview the emoji at 32px and the avatar as a small circle. Things that look great at full size often fall apart shrunk — catch that before you upload.
- Animate if it fits. For an animated pet sticker, export the individual frames and assemble them in a GIF tool — animated cutouts are their own workflow.
Why the goofy stuff should stay on-device too
It's easy to assume privacy only matters for "serious" images, but the silly ones are often the most personal — selfies pulling faces, your kids, your pets, inside jokes. A cloud sticker maker receives every one of those. Everything in this guide runs in your browser: the cutout, the sticker outline, the emoji sizing, the avatar compositing all happen on your own device. Your unhinged reaction-face selfie never lands on someone else's server. It just becomes the sticker your group chat now can't live without.
The takeaway
One good photo is a whole content kit. Cut the subject out cleanly once, then shape that master three ways — bordered and bold for stickers, tight and legible for emojis, centred and backed for avatars. Match a palette across the set, test at real size, and keep it all on your device. The hardest part was always the clean edge, and that's now a single drop-and-go step.
Was this article helpful?
Your answer is saved in this browser only. This control makes no network request and does not send the answer to an NSS feedback endpoint.