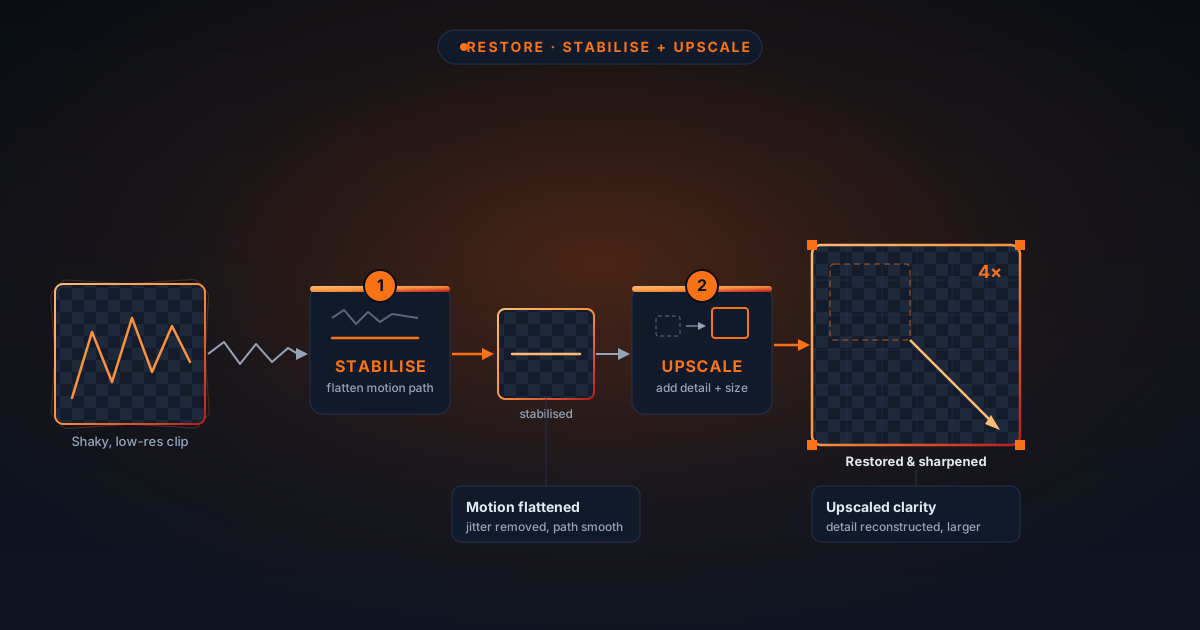
Rescuing Old Shaky Clips: Stabilise First, Then Upscale
A shaky, low-resolution old clip usually needs two fixes in the right order: steady it first, then enlarge it. Do it the other way round and you upscale the wobble. Here is the stabilise-then-upscale pipeline, entirely in the browser.
By Novus Stream Solutions Editorial Team · Part of the Browser-local editing workflows topic cluster
You found the old clip. A birthday, a first-steps wobble, a gig you filmed on a phone that felt cutting-edge at the time. It is shaky, it is small, and it looks rough on a modern screen. The instinct is to make it bigger and sharper first, then worry about the shake. That order is backwards, and this post is about why.
Two of our tools can rescue footage like this: a stabiliser and an upscaler. Run them in the wrong sequence and you waste effort. Run them in the right sequence and you get the best version of the clip that the original pixels can honestly support. Everything below happens on your device. The video is never uploaded, and nothing is kept once you close the tab.
Why order matters
Think about what each tool actually does to the frame.
Stabilising works by tracking how the frame drifts and jitters over time, then shifting and rotating each frame to cancel that motion out. To hide the shake at the edges, it has to crop in slightly and, on rough sections, warp the frame a little. The output is a steadier clip with a marginally tighter frame than the original.
Upscaling enlarges the frame and cleans it up. It commits you to a bigger resolution.
Now line those up:
- Stabilise first. You are cropping and warping while the frame is still at its original, lighter resolution. That is cheap and forgiving. Once the shake is gone, you can decide how big the final clip should be.
- Upscale first (the wrong way). You enlarge every wobble along with everything else. A bigger, sharper wobble is still a wobble. You have spent processing time making the shake more visible. Then the stabiliser crops into that enlarged frame anyway, throwing away pixels you just paid to invent.
The rule is simple: fix the motion before you commit the resolution. Steady the clip, then make it bigger.
Step 1: Stabilise the shake
Open the video stabiliser and drop your clip in. It analyses the camera's path across the clip and smooths that trajectory, so the jerky hand-held motion becomes a gentler drift. For longer clips there is an ffmpeg deshake fallback that handles the load without running you out of memory.
A few things to expect, honestly:
- A mild crop. The stabiliser hides shake by pushing the frame edges out of view, so the final image sits a little tighter than the original. This is normal and it is exactly why you do it before upscaling. You want the crop to happen while the frame is still at native size.
- It steadies, it does not reshoot. Very violent shake, or a whip-pan the tracker cannot follow, will not become a tripod shot. It calms motion; it does not invent a smoother camera move that was never there.
- Watch the edges on rough sections. Where the shake is worst, the warp works hardest, and you may see slight wobble at the frame boundary. If that bothers you, a slightly tighter starting crop usually settles it.
If you want a deeper walk-through of the stabiliser on its own (settings, edge cases, what the smoothing is doing frame by frame), the companion post how to stabilise shaky video in your browser goes further than this pipeline overview does.
Save the steadied clip. That file is now your input for step two.
Step 2: Upscale, with realistic expectations
Take the stabilised clip to the video upscaler. Here is the honest part, and it is the most important paragraph in this post: the video upscaler is a classical enhancement pipeline, not AI. It runs denoise, then a Lanczos scale-up, then sharpening, then a levels pass. It enlarges and cleans the frame. It does not invent detail that the camera never captured.
That distinction matters for old footage. A soft, compressed clip from an old phone does not contain hidden sharpness waiting to be unlocked. The upscaler will make it larger and tidier and less noisy, genuinely better to look at, but it cannot reconstruct a face or a sign that was a blur in the source. Anyone promising to turn a thumbnail into a crisp 4K master is overselling. We would rather you know the ceiling going in.
There are three strength presets:
| Preset | Best for | Trade-off |
|---|---|---|
| Light | Clips that are already fairly clean; you just want more size | Least smoothing, keeps the most original texture |
| Balanced | The usual choice for old phone footage | Sensible denoise and sharpen without going plasticky |
| Strong | Heavily compressed or noisy sources | Cleans the most, but can smear fine texture if pushed |
Start on Balanced. If the result looks waxy or the grain has been scrubbed into mush, drop to Light. If blocky compression noise is still crawling around, try Strong and accept a softer texture as the price.
Note the 1080p input cap: the pipeline is built to enlarge modest footage, which is precisely the old-clip case, so that cap rarely bites here. And because it is classical rather than a learned model, there is no large weight download to wait on; it just runs.
If you want the fuller reasoning on what browser upscaling can and cannot do, free 4K video upscaling in the browser lays out the same honest limits in more detail.
Step 3 (optional) (Resize for where it is going
Once the clip is steady and enlarged, you may want it in a specific shape) a square for a feed, a vertical 9:16 for stories, a clean 16:9 for a share. The video resizer changes dimensions and aspect ratio to platform specs using ffmpeg compiled to run in the browser.
Two practical notes:
- The first run downloads a ffmpeg core (around 32 MB). That download now shows real staged progress rather than a bar that sticks and makes you wonder if it has frozen.
- If your clip uses an unsupported codec, it now errors quickly with a clear message instead of stalling, so you find out in seconds, not after a long wait.
Do this last, after stabilising and upscaling, so you are only ever cropping the final composition once.
What old footage will and will not lose
Set your expectations before you start, so the result feels like a win rather than a disappointment. Old clips carry damage that no on-device pass fully erases:
- Grain and sensor noise get reduced, not removed. Push denoise too hard and you trade noise for a plasticky look. That is why the presets exist.
- Compression artefacts, the blocky mosquito noise around edges, soften but do not vanish. They were baked into the file when it was first saved.
- Interlacing from very old camcorder-era footage (those comb-teeth on motion) is not something this pipeline is built to reconstruct away.
- Genuinely lost detail stays lost. If a face was a smear at capture, it is a slightly larger, cleaner smear afterwards. Honest is better than hopeful here.
What you do gain is real: a clip that holds still, sits at a usable size, reads more cleanly, and fills a modern frame. For most old personal footage, that is the difference between unwatchable and worth keeping.
The pipeline at a glance
- Stabilise at /tools/video-stabilize: smooth the motion, accept a mild crop, save the result.
- Upscale the steadied clip at /video-upscale: classical enlarge-and-clean, start on Balanced, no invented detail.
- Resize if needed at /tools/video-resizer: final shape for the platform, done once at the end.
Every step runs on your machine. The footage stays with you, nothing is stored between sessions, and when you close the tab the working files are gone. You keep the download; we keep nothing.
Start with the steady step
The single decision that separates a good rescue from a wasted afternoon is the order. Steady the frame while it is still small and forgiving, then enlarge what you have stabilised. Do it the other way and you sharpen the shake before throwing those pixels away in the crop.
Grab that old clip and start where the pipeline starts: stabilise it first, then come back for the upscale. Two honest tools, in the right order, on your own device.
Applies to NSS Background Remover v2.1.0 — the release that was current when this article was published.
Was this article helpful?
Your answer is saved in this browser only. This control makes no network request and does not send the answer to an NSS feedback endpoint.