How to Stabilize Shaky Video in Your Browser — No Software Download Required
A complete guide to fixing handheld camera shake and walking-while-filming jitter using NSS Video Stabilizer — browser-native, no upload, no account.
By Novus Stream Solutions Editorial Team · Part of the Browser-local editing workflows topic cluster
Shaky footage is one of the most common video problems, and it used to mean buying dedicated stabilization software or paying for a video editing subscription. Now you can fix it directly in your browser. Here is everything you need to know.
Why video gets shaky
Camera shake comes from a few sources:
Handheld movement — Even a "steady" hand introduces micro-vibrations from breathing, pulse, and muscle tension. At focal lengths above 50mm, this becomes very visible.
Walking while filming — The classic bounce pattern from footsteps creates a rhythmic up-down oscillation that is hard to eliminate in post without dedicated stabilization.
Mounted vibration — Cameras attached to vehicles, bikes, or unstable surfaces pick up mechanical vibration that appears as high-frequency jitter.
Zoom lens instability — Longer zoom lenses amplify all of the above. A 200mm shot is inherently shakier than a 24mm shot of the same scene.
How the NSS stabilizer works
The stabilizer analyzes your clip before touching a single pixel of output:
Step 1: Frame extraction Every frame of your video is captured to an offscreen canvas. This collection phase runs first — no output is written while frames are being read.
Step 2: Block-matching motion estimation Adjacent frames are divided into a grid of tiles. For each tile, the tool searches neighboring positions in the next frame to find the best match — this gives a translation vector (how much the camera moved) for each frame transition.
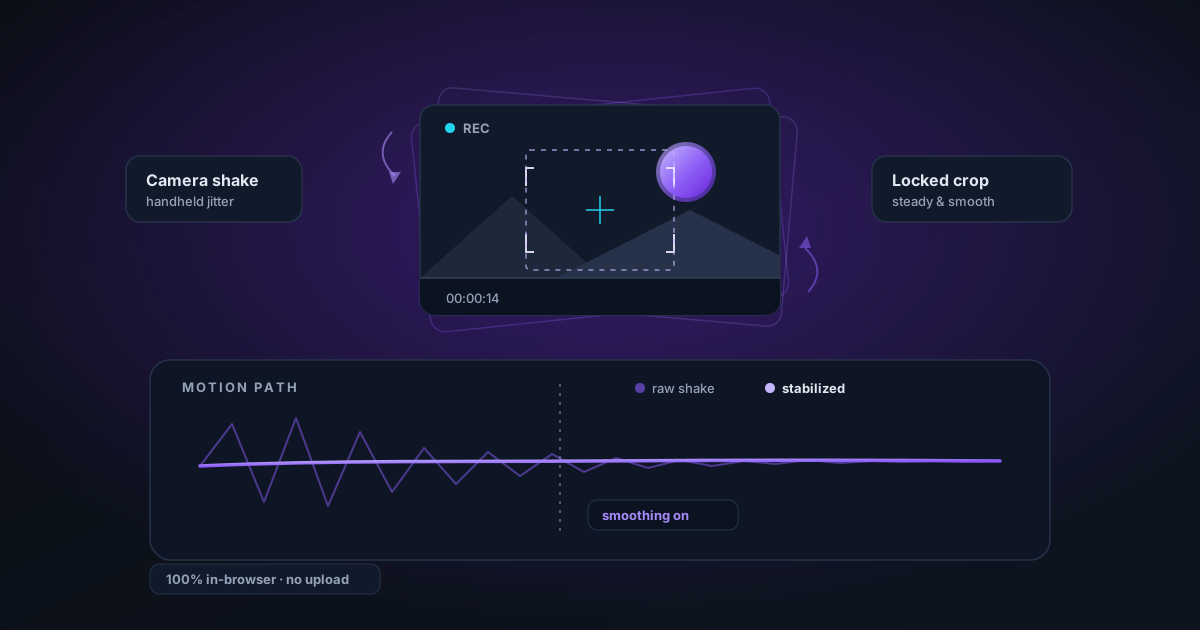
Step 3: Trajectory smoothing The accumulated per-frame motion is integrated into a camera trajectory path, then smoothed using a sliding-window average. The Strength slider controls the window size (3 to 25 frames). Larger windows = more aggressive smoothing.
Step 4: Compensated replay Each frame is re-rendered with the inverse of its smoothed offset applied. If the camera drifted 8 px right in a given frame, the output frame is shifted 8 px left — canceling the drift.
Choosing the right Strength
The Strength slider is the most important control:
| Footage type | Recommended strength |
|---|---|
| Light tripod jitter | 20–30% |
| Handheld talking head | 50–70% |
| Walking while filming | 70–80% (default) |
| Bike or vehicle mount | 80–90% |
| Intentional handheld pan | 30–40% (avoid over-smoothing pans) |
The default 80% works well for most handheld footage. Only push to 100% for severe mechanical vibration — at maximum strength, intentional slow camera pans may look slightly motion-blurred.
Scene cuts and the stabilizer
If your clip contains an abrupt cut (edit point), the stabilizer detects the cut automatically by comparing inter-frame motion magnitude to the running average. When the motion is more than 3× the expected value, the trajectory accumulator resets. This prevents the stabilizer from trying to smooth across a cut and introducing incorrect offsets.
If you have a long edited clip with many cuts, the tool handles each segment independently.
The crop trade-off
Stabilization works by shifting frames. The maximum shift needed = the maximum amount of crop applied. For a typical 80% strength setting with moderate handheld footage:
- Expect roughly 2–5% crop on each edge
- A 1920×1080 input might produce an effective viewing area of ~1840×1034 before cropping, then scaled back to 1920×1080
For most web and social media use, this crop is invisible. For footage where you need to preserve edge content (titles, graphics near the frame edges), keep them at least 8% from the edges.
Tips for best results
Shoot at a slightly wider angle than you need. The stabilizer will crop slightly. If you're planning to use the full frame, build in extra room when shooting.
Work with short clips. Processing time scales linearly with clip length. For a 5-minute video, processing might take 10–15 minutes in the browser. If you need to stabilize a long piece, trim it into segments first.
Combine with in-camera OIS. If your camera or phone has optical image stabilization, leave it on. The software stabilizer handles the remaining shake that OIS missed.
Use 1080p source material. The browser-based motion estimation is most efficient at 1920×1080. 4K clips process 4× more data without proportionally better stabilization results.
Output format
Stabilized output is exported as WebM (VP9). If you need MP4, use the Video Format Converter as the next step.
Related tools
- Video Format Converter — convert the WebM output to MP4
- Video Resizer — scale to 1080p, 720p, or custom
- Video Compressor — reduce file size after stabilization
Applies to NSS Background Remover v1.7.0 — the release that was current when this article was published.
Was this article helpful?
Your answer is saved in this browser only. This control makes no network request and does not send the answer to an NSS feedback endpoint.