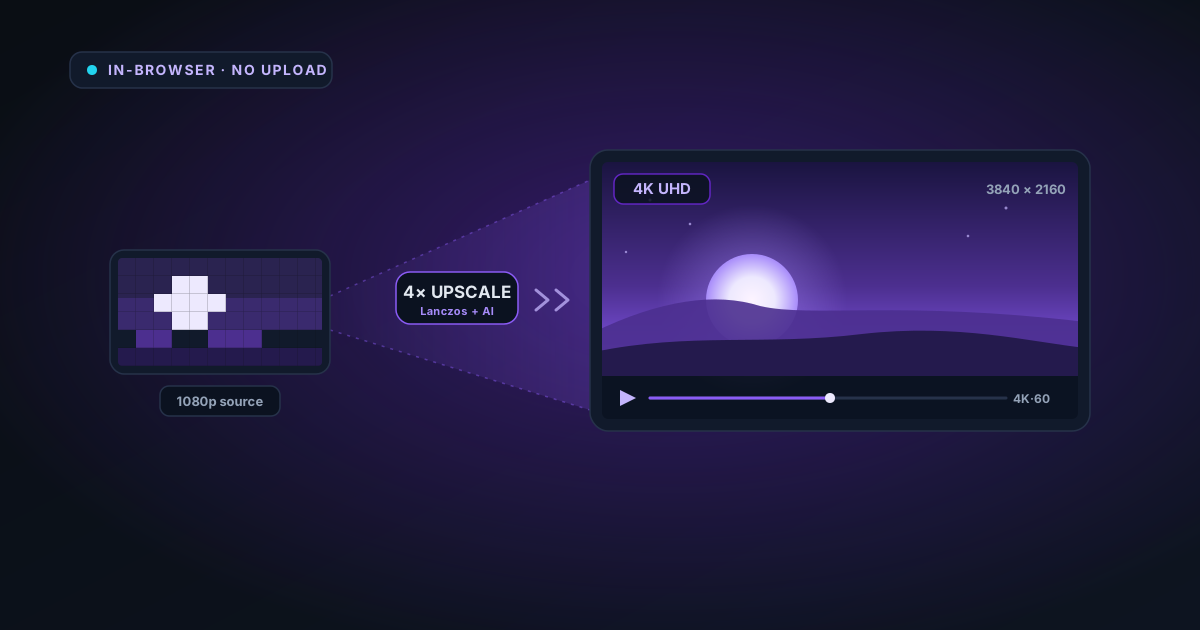
Free 4K Video Upscaling in Your Browser — No Upload, No Software
How to upscale video to 4K resolution for free using AI and Lanczos algorithms, entirely in your browser. What quality to expect, and when it is worth doing.
By Novus Stream Solutions Editorial Team · Part of the Browser-local editing workflows topic cluster
Video upscaling to 4K used to require dedicated software, a powerful GPU, or an expensive cloud service. In 2026, you can do it entirely in your browser for free — with no account, no upload, and no installation.
The NSS Video Upscaler does exactly this. Here is what you need to know about how it works, what quality to expect, and when 4K upscaling is actually worth doing.
What video upscaling does
Upscaling takes a lower-resolution video — say 720p (1280×720) or 1080p (1920×1080) — and increases its pixel dimensions to a larger size, such as 4K (3840×2160). The basic challenge: you cannot invent detail that was never captured. Upscaling works by interpolating between existing pixels to create plausible new ones, then cleaning and sharpening the result so it holds up at the larger size.
How the NSS video upscaler works
The video upscaler runs a four-stage filter pipeline on every frame, entirely in your browser through a WebAssembly build of FFmpeg. No frame is ever sent to a server.
- Light denoise — a gentle spatial-temporal denoise (
hqdn3d) removes the fine sensor grain and compression speckle that would otherwise get amplified into mush by the enlargement step. It is deliberately light so it cleans noise without smearing real detail. - Lanczos scaling — Lanczos is a sinc-based resampling filter that weights surrounding pixels far more intelligently than bilinear or bicubic interpolation. It is the sharpest widely available scaler and is what gives the enlarged frame its clean edges.
- Adaptive sharpening — an unsharp pass restores the perceptual crispness that any enlargement softens, tuned to add definition to edges and texture without ringing halos.
- A small tonal lift — a subtle contrast and saturation nudge gives the finished clip a little more punch, since upscaled footage can otherwise look slightly flat.
This is a classical signal-processing pipeline, not a neural network. It is honest about what it can do: it makes a clean source look genuinely sharper and larger, fast, on any device — but it does not hallucinate detail that was never in the footage. (Per-frame AI super-resolution for video is on our roadmap; today the AI models power the image upscaler, where a single frame can afford the heavier computation.)
When 4K upscaling is worth doing
Archival footage
Old home video, 720p footage from early DSLRs, or archive material that you want to preserve at a higher resolution. The pipeline produces a significantly sharper 4K file than the raw 720p.
Background video on high-DPI displays
If you have a 1080p background video for a website and your users have Retina or 4K displays, upscaling to 4K means the video fills the display natively rather than getting scaled up — often poorly — by the browser at playback time.
Talking-head footage for large-format display
Presentations, trade shows, or digital signage render video at 4K. Upscaling your 1080p talking-head footage to 4K will look sharper on these displays than playing the 1080p original.
When 4K upscaling does NOT help
- Highly compressed source: If your source has heavy compression artefacts (blocky areas, ringing around edges), upscaling makes them larger and more visible. The denoise stage tames some of this, but a badly compressed source cannot be rescued — fix or re-export the source first.
- Already at 1080p for social media: Instagram, TikTok, and YouTube re-encode and downscale everything. Uploading a 4K version of a 1080p clip does not meaningfully improve what viewers see.
- Fast motion: Enlargement assumes there is edge structure to sharpen. Very fast motion or low-frame-rate footage (15fps) has motion blur that upscaling cannot un-blur.
How to use the NSS Video Upscaler
- Go to /video-upscale
- Drop your video file into the upload zone
- Select 2× or 4× scaling
- Hit Process and wait
For 4K output from a 1080p source, use 2× scaling. For 4K from 720p, use 4×. Output is capped at a 4096px longest edge to stay within browser decoder limits.
The output downloads as an MP4 (H.264) file that plays everywhere. If you need a different container, the Video Format Converter can convert it in the same browser tab with no upload.
Quality expectations
| Source | Scale | Expected output quality |
|---|---|---|
| 1080p clean footage | 2× | Good — noticeably sharper than source, no added artefacts |
| 720p clean footage | 2× (→1440p) | Good for most uses |
| 720p clean footage | 4× | Acceptable for background / large-format use |
| 720p compressed | 2× or 4× | Denoise helps, but compression artefacts still show — treat the source first |
| 480p | 4× | Large improvement over native 480p playback |
Technical notes
Every stage runs on your device through FFmpeg compiled to WebAssembly; the enlarged, sharpened frames are re-encoded to H.264 at a high quality setting (CRF 18) and the original audio is preserved. No frame data is sent to any server.
Very large or long clips can hit browser memory limits during encoding. If a clip stalls, try a shorter segment or a lower scale factor — a 2× pass on a 1080p source is the safest starting point.
Applies to NSS Background Remover v1.7.0 — the release that was current when this article was published.
Was this article helpful?
Your answer is saved in this browser only. This control makes no network request and does not send the answer to an NSS feedback endpoint.