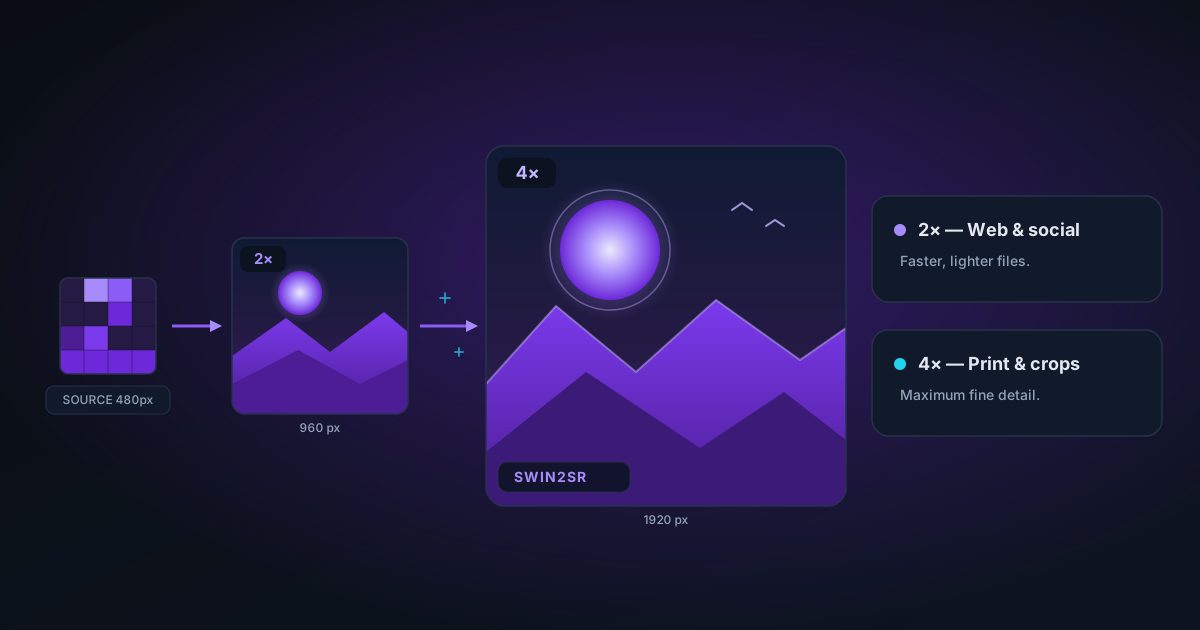
AI Image Upscaler Guide: When to Use 2× vs 4× Super-Resolution
A practical guide to AI super-resolution upscaling — how Swin2SR works, when to use 2× vs 4×, what to expect for different image types, and tips for best results.
By Novus Stream Solutions Editorial Team · Part of the Browser-local editing workflows topic cluster
Enlarging an image used to mean blurry edges and visible compression artefacts. AI super-resolution changes that by predicting missing detail from learned patterns — rather than simply stretching pixels. Here is how the NSS AI Upscaler works and how to choose the right settings.
What is AI super-resolution?
Traditional upscaling (bicubic, Lanczos) interpolates between existing pixels. If you double an image's size, each new pixel gets a value somewhere between its neighbours. The result is smooth but soft — information that was never in the original cannot be invented.
AI super-resolution trains a neural network on millions of image pairs: a low-resolution version and its high-resolution original. The model learns to recognise patterns — text serifs, fabric weaves, hair strands, skin pores — and hallucinate plausible high-frequency detail when upscaling. The result has sharper edges, finer textures, and more apparent detail than interpolation alone.
Swin2SR: what the model actually does
NSS uses Swin2SR, a state-of-the-art super-resolution model based on the Swin Transformer architecture. It processes your image in overlapping 64×64 pixel tiles and predicts a 128×128 pixel output for each tile. The tiles are assembled, blended at their edges, and the final 2× upscaled image is exported as a lossless PNG.
The model is ~47 MB and is downloaded once and cached in your browser. All processing runs locally — your image is never uploaded.
2× vs 4×: which should you choose?
2× AI upscale uses the full Swin2SR model at every pixel. It produces the sharpest, most accurate result.
4× upscale applies Swin2SR for the first 2× step, then uses a high-quality bicubic pass for the second 2× step. This is faster than running AI inference twice and produces output close to full AI 4× quality for most content.
| 2× | 4× | |
|---|---|---|
| Output resolution | 2× input dimensions | 4× input dimensions |
| Method | Full AI inference | AI 2× + bicubic 2× |
| Processing time | Faster | Slower |
| Edge quality | Excellent | Very good |
| Best for | Balanced quality + speed | Maximum output size |
As a rule: use 2× unless you specifically need the larger output dimensions of 4×.
Processing time and image size
Processing time scales with the number of tiles. The upscaler splits your image into 512×512 pixel tiles, processes each one, and assembles the result.
| Input size | Tiles (approx) | 2× time estimate |
|---|---|---|
| 720p (1280×720) | 4 tiles | ~5–10s |
| 1080p (1920×1080) | 6 tiles | ~10–20s |
| 4K (3840×2160) | 16 tiles (after downscale) | ~30–60s |
| 8MP (4032×3024) | 16 tiles (after downscale) | ~30–90s |
Images larger than 2048px on the longest side are pre-downscaled to 2048px before tiling. The output is still upscaled from the original — it's the intermediate tile count that's reduced to keep processing time reasonable.
A real-time tile-by-tile progress indicator shows estimated time remaining once processing starts.
What types of images benefit most?
High benefit:
- Product photos from mobile cameras (compressed, slightly soft)
- Old or archival photos (scanned prints, vintage film)
- Screenshots of UI or web content (text, icons, logos)
- Game screenshots
- Any image that was resized down during sharing
Moderate benefit:
- DSLR photos at native resolution (these are already sharp; upscaling adds modest improvement)
- Headshots and portraits
Limited benefit:
- Images that are already blurry (motion blur, out of focus) — AI cannot recover detail that was never captured
- Heavily compressed JPEGs (AI upscaling preserves compression artefacts, potentially making them more visible)
- Very noisy images — the model may interpret noise as texture and sharpen it
Practical tips
Remove the background first, then upscale. If you plan to cut out a product against a transparent background, do the background removal first. Upscaling the cutout afterwards produces sharper edges on the subject. Upscaling before removal gives the segmentation model more pixels to work with — try both for critical work.
Export as PNG. The upscaler always outputs lossless PNG to preserve every detail the model added. If you need a smaller file, convert the PNG to WebP after upscaling.
4K inputs are automatically handled. Very large images are pre-downscaled to 2048px before tiling — this reduces processing from ~50 tiles to ~16 tiles. If you need the absolute maximum detail from a large original, use the 2× scale.
Use the Browser cache. The Swin2SR model (~47 MB) is cached in your browser after the first download. Subsequent upscale sessions skip the download entirely.
Applies to NSS Background Remover v0.2.0 — the release that was current when this article was published.
Was this article helpful?
Your answer is saved in this browser only. This control makes no network request and does not send the answer to an NSS feedback endpoint.