A Guide to Video Filter Presets — Cinematic LUTs in Your Browser
What cinematic filter presets do to video, which NSS presets to use for common looks, and how to apply them to any video file for free in your browser without an upload.
By Novus Stream Solutions Editorial Team · Part of the Browser-local editing workflows topic cluster
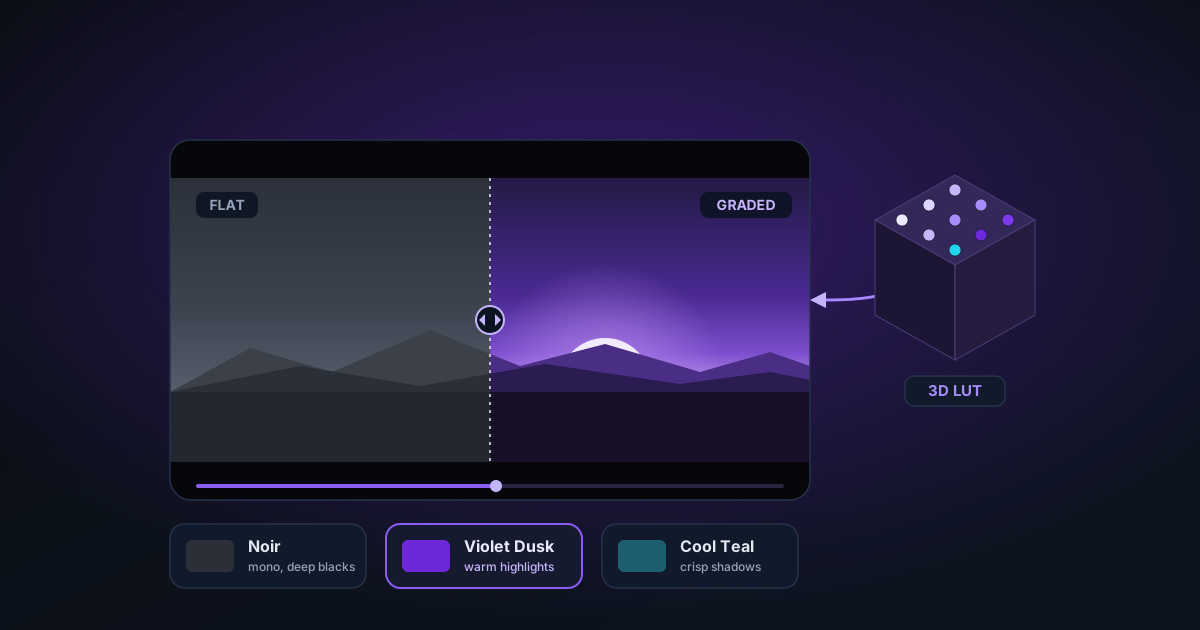
Cinematic filters are used in video production to create mood, consistency, and a distinctive visual style. Professional colourists use LUTs (Lookup Tables) — mathematical transformations that map input colours to output colours. The NSS Video Filter Editor brings 34 of these presets to any video file, entirely in your browser.
What filter presets actually do
A filter preset applies a colour transformation to every pixel in every frame. Depending on the preset, this might:
- Shift the overall colour temperature (warmer or cooler)
- Reduce or boost saturation selectively by hue
- Crush or lift the shadows (affecting how dark areas look)
- Apply a specific colour grade to skin tones
Unlike a simple brightness/contrast adjustment, a cinematic LUT changes different colours differently — this is what gives specific looks their character.
The NSS filter preset library
The NSS filter editor includes 34 presets, grouped roughly into:
Clarity and resolution enhancement
- 4K Enhance — Increases perceived sharpness and micro-contrast. Good for footage that looks slightly soft.
- 2K Enhance — A lighter version of 4K Enhance.
Cinema and drama
- Cinematic — Classic film colour grade: lifted shadows, slightly desaturated highlights, shifted toward cyan/teal in shadows and warm in highlights. The "movie look."
- Drama — High contrast, deeper shadows, more saturated midtones. Works well for action or intense scenes.
- Golden Hour — Warm highlights, golden cast throughout. Simulates late afternoon light.
- Moonlight — Cold blue-shifted grade. Night scenes, mystery, thriller tone.
- Sunrise — Warm pinks and oranges. Dawn light simulation.
Haze and atmosphere
- Haze — Lifts shadows and adds a slight fog-like cast. Popular in fashion video.
- Matte — Faded, desaturated look. Popular in Instagram aesthetic video.
- Fade — Similar to matte but with a slightly different tonal curve.
Temperature
- Warm — Shifts everything toward amber/orange. Cosy, inviting.
- Cool — Shifts toward blue/cyan. Clinical, modern, cold environments.
Classic film looks
- Vintage — Faded, slightly yellow highlights. Old film simulation.
- Film Grain — Adds simulated film grain texture along with a slight grade.
Black and white
- BW — Converts to black and white with a standard luminance weighting.
Specialty
- Duotone Blue — Two-colour (blue and near-white) extreme grade.
- Duotone Purple — Same but with purple as the main tone.
- Vignette — Darkens edges toward the centre. Focuses attention. Can be combined with other presets.
Which preset for which type of video
| Video type | Recommended preset |
|---|---|
| Talking head / interview | Warm or Cinematic |
| Product showcase | 4K Enhance or Cool (for tech products) |
| Travel vlog | Golden Hour or Sunrise |
| Documentary | Cinematic or Drama |
| Night footage | Moonlight |
| Social media / lifestyle | Matte or Fade |
| Music video | Vivid or Drama |
| Horror / thriller | Drama or Moonlight |
| Wedding | Golden Hour or Film Grain |
How to apply a filter in the NSS Video Filter Editor
- Go to /tools/video-filter
- Upload your video (MP4, WebM, MOV)
- Click through the preset thumbnails — a preview appears in the right panel
- Use the intensity slider (0–100%) to control how strongly the filter is applied
- Click Export to process and download
Processing works by seeking each frame, applying the filter via canvas pixel manipulation, and re-encoding with MediaRecorder. The output is WebM. If you need MP4, use the Video Format Converter after downloading.
Intensity control
The intensity slider blends between the unfiltered frame (0%) and the fully-filtered frame (100%). This is useful when a preset looks too strong at full strength:
- Cinematic at 100%: heavy grade, very stylised
- Cinematic at 40–60%: subtle, professional, less obvious
- Film Grain at 100%: very visible grain, looks retro
- Film Grain at 20–30%: subtle texture, adds perceived depth without looking like a filter
For most talking head and interview footage, 50–70% intensity produces the most natural-looking results.
Combining filters with other edits
The Video Editor supports more advanced colour work: brightness, contrast, saturation, temperature, vignette, and fade transitions. If you want to apply a preset filter as a starting point and then fine-tune, use the standalone video filter tool to produce a filtered WebM, then open it in the video editor for manual adjustments.
All processing runs in your browser — your video file is never uploaded to any server.
Applies to NSS Background Remover v1.7.0 — the release that was current when this article was published.
Was this article helpful?
Your answer is saved in this browser only. This control makes no network request and does not send the answer to an NSS feedback endpoint.