How to Optimize Video for Web and Social Media — File Size, Format, and Quality Guide
A practical guide to reducing video file size, choosing the right format, and hitting platform-specific requirements for YouTube, Instagram, TikTok, and web — all in your browser.
By Novus Stream Solutions Editorial Team · Part of the Browser-local editing workflows topic cluster
A 500 MB raw video clip from your camera is not what you upload to Instagram. Getting from raw footage to a publish-ready file means making the right decisions about codec, resolution, bitrate, and container format. Here's the complete guide — and how to do all of it without installing software.
The three variables: codec, container, bitrate
Codec is the algorithm that compresses your video data. Modern codecs include:
- H.264 (AVC) — the universal standard; plays on every device and platform
- VP9 — Google's open codec; similar quality to H.264 at lower bitrates; used natively in WebM
- H.265 (HEVC) — 40–50% smaller than H.264 at equivalent quality; not universally supported for upload
For social media and web, H.264 is the safe choice for maximum compatibility. VP9/WebM produces slightly smaller files for the same quality, but some platforms re-encode it anyway.
Container is the file wrapper. .mp4 uses H.264 or H.265. .webm uses VP9 or VP8. The container affects compatibility more than quality.
Bitrate is how much data per second. Higher bitrate = better quality, larger file. Most platforms (YouTube, Instagram, TikTok) have target upload bitrates that exceed what they deliver to viewers — uploading at higher quality gives their encoder more to work with.
Platform-specific requirements
| Platform | Recommended format | Max resolution | Target upload bitrate |
|---|---|---|---|
| YouTube | MP4 (H.264) | 3840×2160 (4K) | 20–40 Mbps for 4K |
| Instagram Feed | MP4 (H.264) | 1080×1350 (4:5) | 3.5 Mbps |
| Instagram Reels | MP4 (H.264) | 1080×1920 (9:16) | 3.5 Mbps |
| TikTok | MP4 (H.264) | 1080×1920 (9:16) | 2–5 Mbps |
| Twitter/X | MP4 (H.264) | 1920×1200 | 5 Mbps max |
| Web embed | WebM (VP9) or MP4 | Match display size | 1–3 Mbps |
| Email (linked) | MP4 (H.264) | 1280×720 | 1.5 Mbps |
Choosing the right resolution for social
This is where most people make mistakes. Uploading at a higher resolution than the platform serves is wasteful but not harmful. Uploading at the wrong aspect ratio means the platform crops your content.
Instagram Feed cuts portrait images to 4:5 (1080×1350) if taller. Upload at exactly 4:5 to control what's visible. Use the Video Canvas Extender to reformat landscape clips for Instagram.
TikTok and Instagram Reels want 9:16 (vertical). If you filmed landscape, you need to either crop to 9:16 or add pillarbox padding. Canvas extender handles the padding case.
YouTube is flexible — it accepts any aspect ratio and letterboxes what doesn't match 16:9. Still, 16:9 is the native format for most viewers.
The codec comparison approach
Before committing to a format, use the Video Format Comparison tool. Upload your clip once, and it simultaneously encodes to:
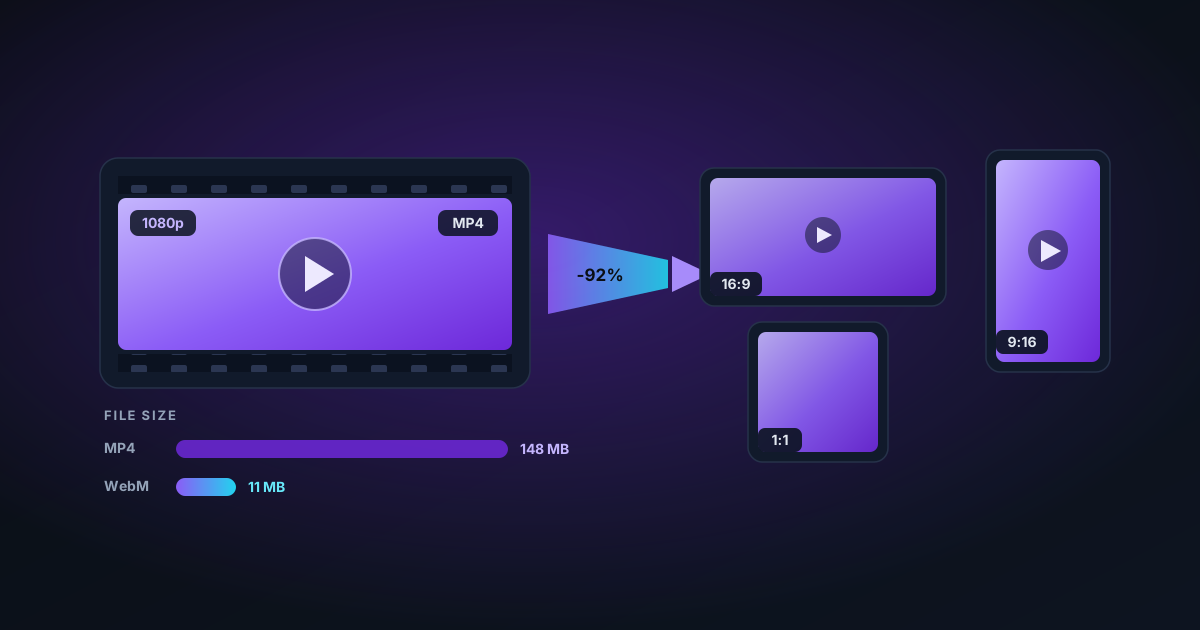
- WebM VP9 — typically 10–30% smaller than MP4 for the same perceived quality
- WebM VP8 — similar size to MP4, somewhat older codec
- MP4 (H.264/AVC) — universal compatibility
The tool shows you the file size for each output, highlights the smallest, and lets you download any of them. This 5-minute test often reveals that VP9 produces the same visual quality at 60–70% of the MP4 size.
Use VP9/WebM for web embeds (smaller file, no compatibility issue for modern browsers). Use MP4 for social media uploads (widest platform support).
How to compress without visible quality loss
The Video Compressor re-encodes your video using VP9 at four quality levels:
| Preset | CRF equivalent | Use case |
|---|---|---|
| High | CRF 28 | Social media, web — minimal visible loss |
| Medium | CRF 33 | Email sharing, general distribution |
| Low | CRF 38 | Small files, preview, bandwidth-limited |
| Very Low | CRF 43 | Absolute minimum size, noticeable degradation |
High quality is the right choice for almost every social media use case. Files are typically 40–60% smaller than the original while looking identical on a phone screen or laptop.
The re-encoding reality
Every time you run a video through a compressor, you lose a small amount of quality. Compression algorithms are lossy — even "lossless" re-encoding introduces some rounding. For social media, one pass of lossy compression at High quality is fine. Avoid re-compressing an already-compressed file more than twice.
Avoid:
- Compressing a clip that was already compressed at low quality (compound losses)
- Applying multiple tools in sequence at their lowest quality settings
- Exporting from your video editor at medium quality and then compressing again
Best practice: export from your editor at maximum quality, then apply one compression pass at High quality.
The workflow for social media delivery
For a typical "film → edit → post" workflow:
- Export from editor at maximum quality (often 1080p or 4K, original bitrate)
- Reformat aspect ratio if needed using Video Canvas Extender
- Resize to platform max if over 1080p using Video Resizer (saves time and reduces encoder load)
- Check format — if exporting WebM, convert to MP4 for social platforms using Video Format Converter
- Compress using Video Compressor at High quality for the final delivery file
For web embeds, you can skip step 4 and keep the WebM — modern browsers handle VP9 natively.
File size targets
| Use case | Target file size |
|---|---|
| Instagram Feed (1 min) | Under 100 MB (platform limit is 300 MB) |
| Instagram Reels (90 sec) | Under 200 MB |
| TikTok (60 sec) | Under 100 MB (platform limit is 287 MB) |
| YouTube (20 min at 1080p) | 1–3 GB is fine — YouTube re-encodes anyway |
| Web autoplay background | Under 5 MB for short loops |
| Email-linked preview | Under 20 MB |
Related tools
- Video Compressor — reduce file size
- Video Format Converter — convert between WebM, MP4
- Video Format Comparison — compare VP9, VP8, and AVC file sizes
- Video Canvas Extender — reformat aspect ratio
- Video Resizer — scale to platform target resolution
Applies to NSS Background Remover v1.7.0 — the release that was current when this article was published.
Was this article helpful?
Your answer is saved in this browser only. This control makes no network request and does not send the answer to an NSS feedback endpoint.